setup
COMPONENTS
INTEGRATIONS
FAQ
how-to-use-noteframe
Noteframe is a powerful project management and collaboration plugin for Framer, allowing you to create, assign, and track tasks directly within your design projects. Follow this guide to set up and start using Noteframe effectively.
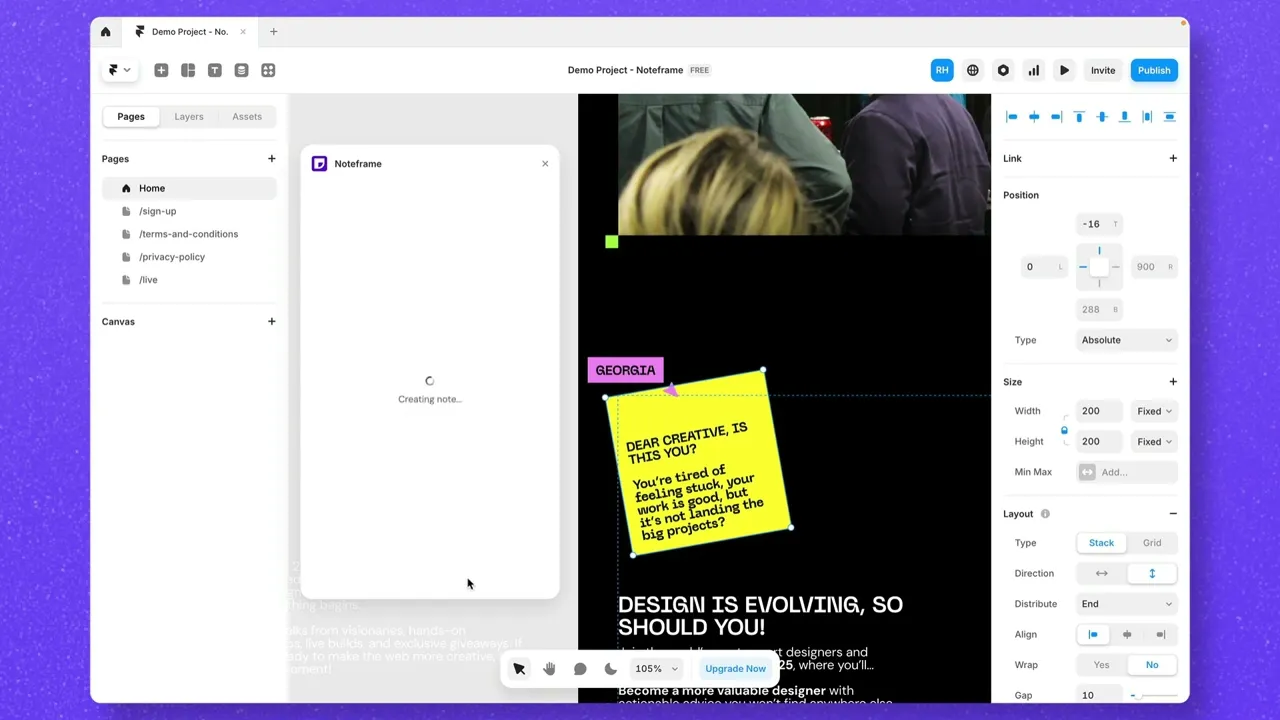
1. Open Noteframe in Framer
If you haven’t signed up yet, follow the on-screen instructions to create an account.
Once logged in, you can add Noteframe to your existing workspace.
2. Adding a New Task
Open the Noteframe dashboard to manage tasks.
Click Create a Task and enter the title and description.
Select a layer or frame in Framer to tie the task to (e.g., a button, section, or text block).
Example: If you want to change a background color, select the element and name your task "Change background color to green".
Setting Task Details
Priority Levels: Choose Low, Medium, or High.
Status: Set as Not Started, In Progress, or Complete.
Due Date: Assign a specific deadline.
Team Assignment: If you have team members in your workspace, assign tasks to them.
Locating and Managing Tasks
Tasks appear in the Noteframe panel. Click Locate to jump to the relevant frame in Framer.
View task details such as due date, priority, and assigned team member.
Use Board View to drag tasks between statuses or List View to sort tasks by date, priority, or status.
3. Adding Team Members to Your Workspace
Click Share > Invite Team Members.
Enter the email address of your teammate (e.g., grace@insertframe.io).
Click Invite to Workspace (note: additional members may require a subscription).
To manage your team, go to Manage Workspace in the account menu.
4. Syncing Comments and Feedback
Reload Noteframe to sync new client comments.
All comments appear within the plugin, allowing for easy tracking and resolution.