
setup
COMPONENTS
INTEGRATIONS
FAQ
Installing the Thenty Code
Set up your account with Thenty
Open the Thenty plugin in your Framer project and go through the onboarding steps: set up your application, code files and production URL. Make sure this all matches exactly.
To test this code has been installed correctly, publish your site and you should see an ‘Auth by Thenty’ tag at the bottom of your page.
Optional: Dashboard Steps
This step can all be done in the plugin, however if you are experiencing issues, you can do this through the dashboard instead.
Once you have created an account, you need to set up your application.
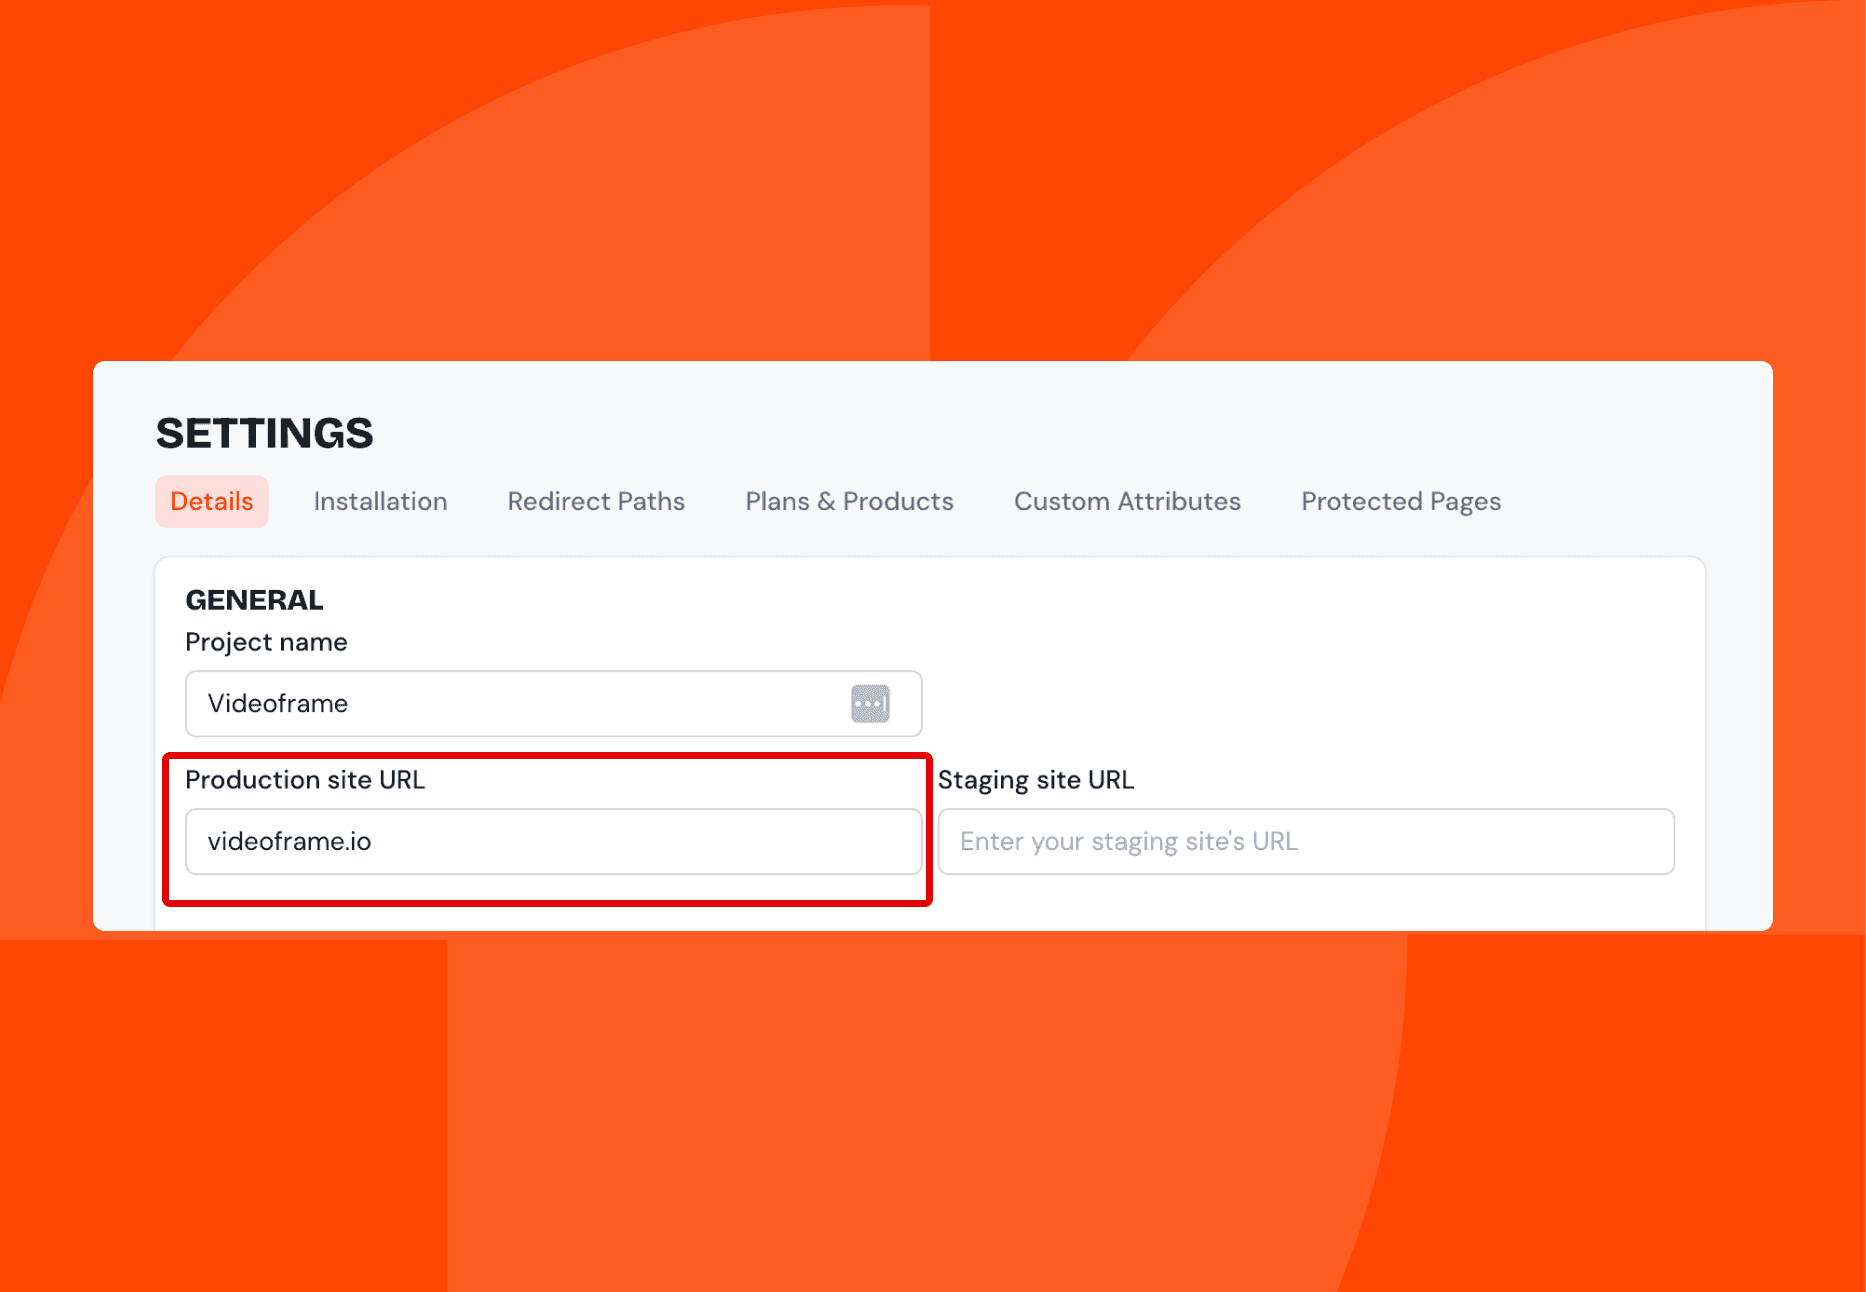
Make sure your application details are set up and that your production URL in Thenty matches your Framer project's URL. This must match exactly.
There is also an option to include the staging URL:
Once you set up your account and complete the onboarding:
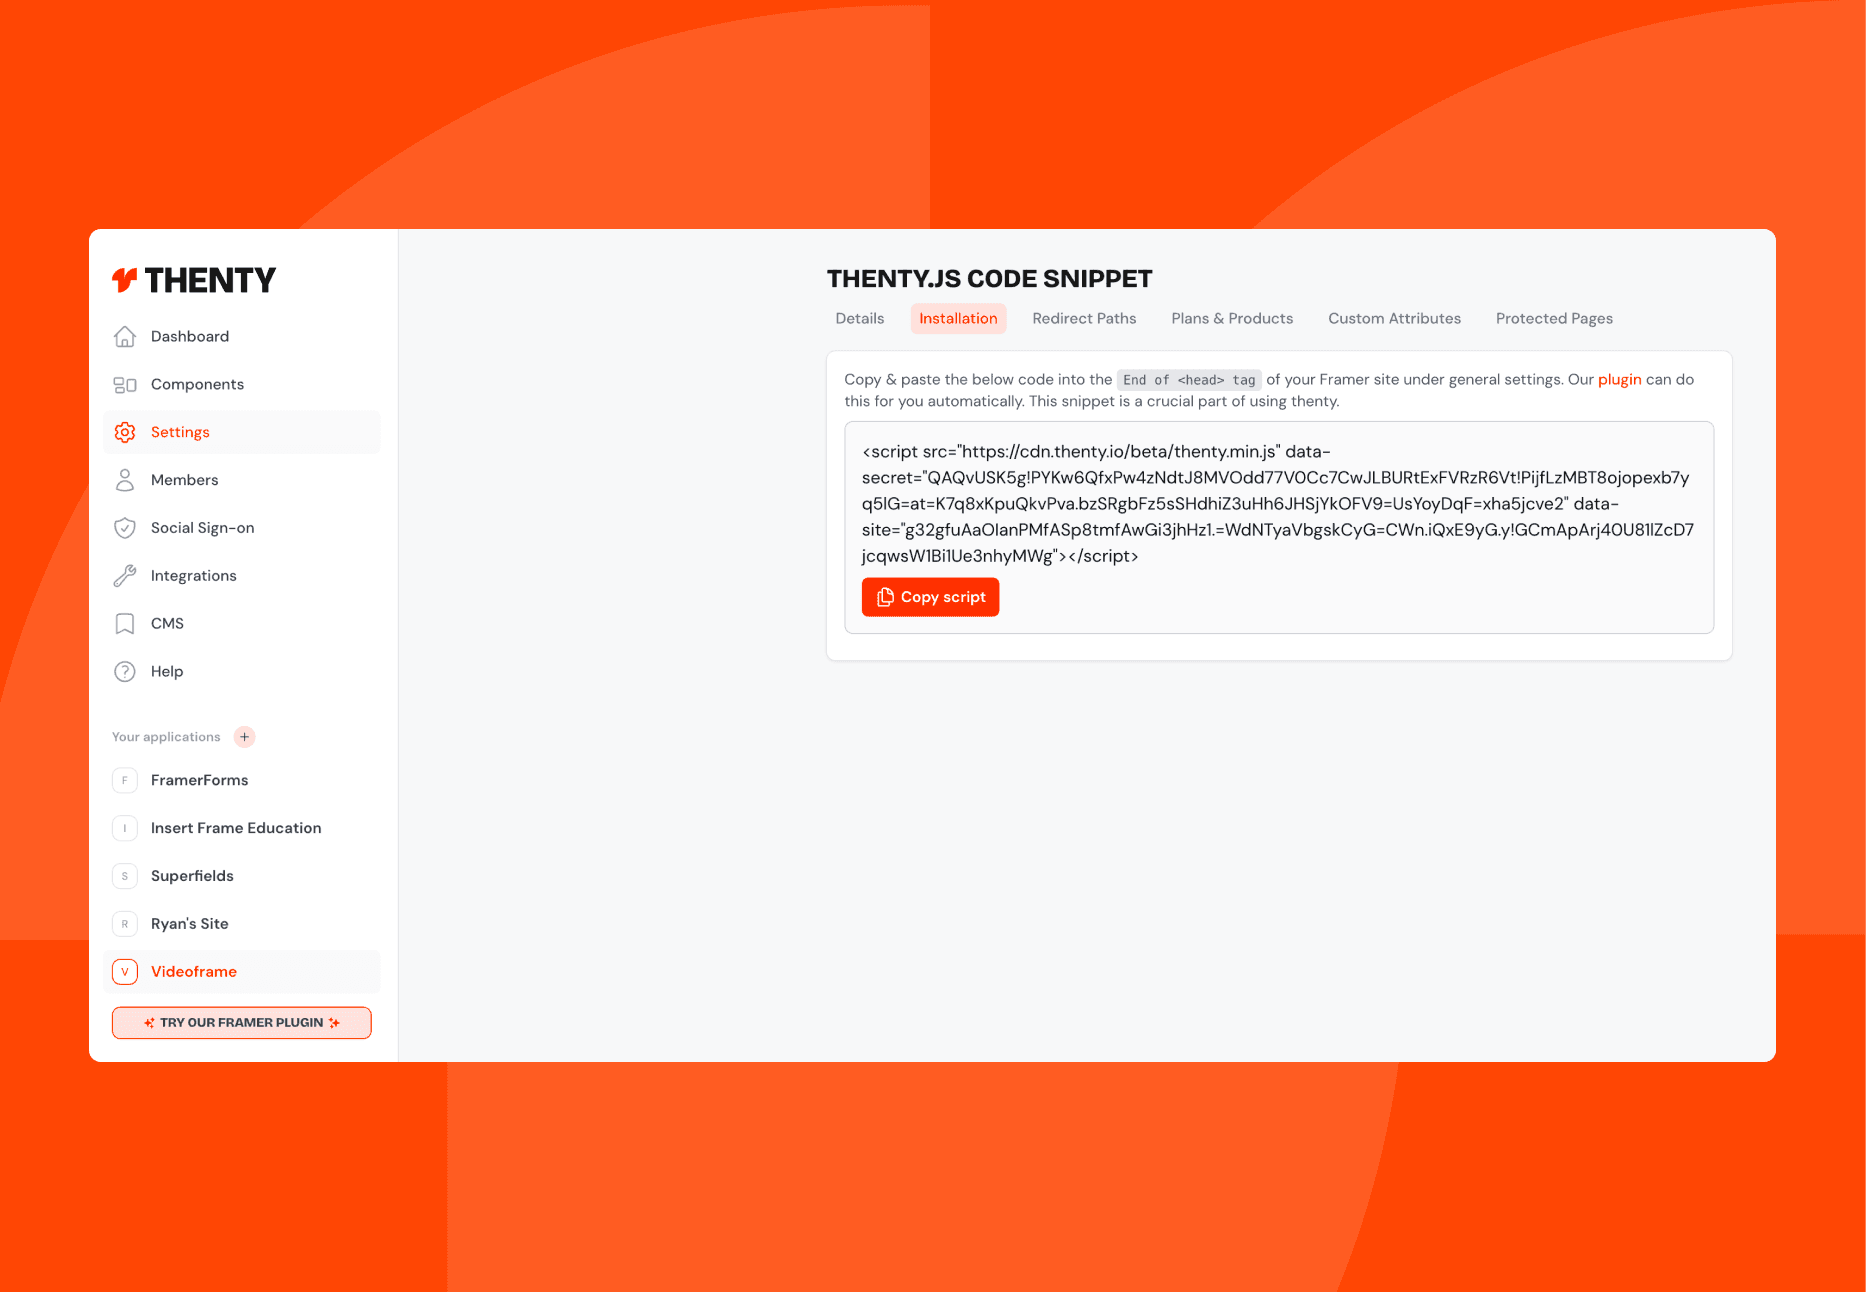
Go to your settings in the dashboard.
Go to the Installation tab and copy the code.
Go into your Framer project.
Go to Settings > custom code and click the +
Add the code, make sure the placement is set to ‘Start of head’ and Save.
To test this code has been installed correctly, publish your site and you should see an ‘Auth by Thenty’ tag at the bottom of your page.
RELATED DOCUMENTATION