setup
COMPONENTS
INTEGRATIONS
FAQ
Setting up Markets & Multi-Currency with Frameship
This is a guide on how to set up multiple currencies or markets in your Shopify store in Framer.
💡 Note: This component is only available for Scale tier of Frameship license. You can upgrade your license at any time through the plugin.
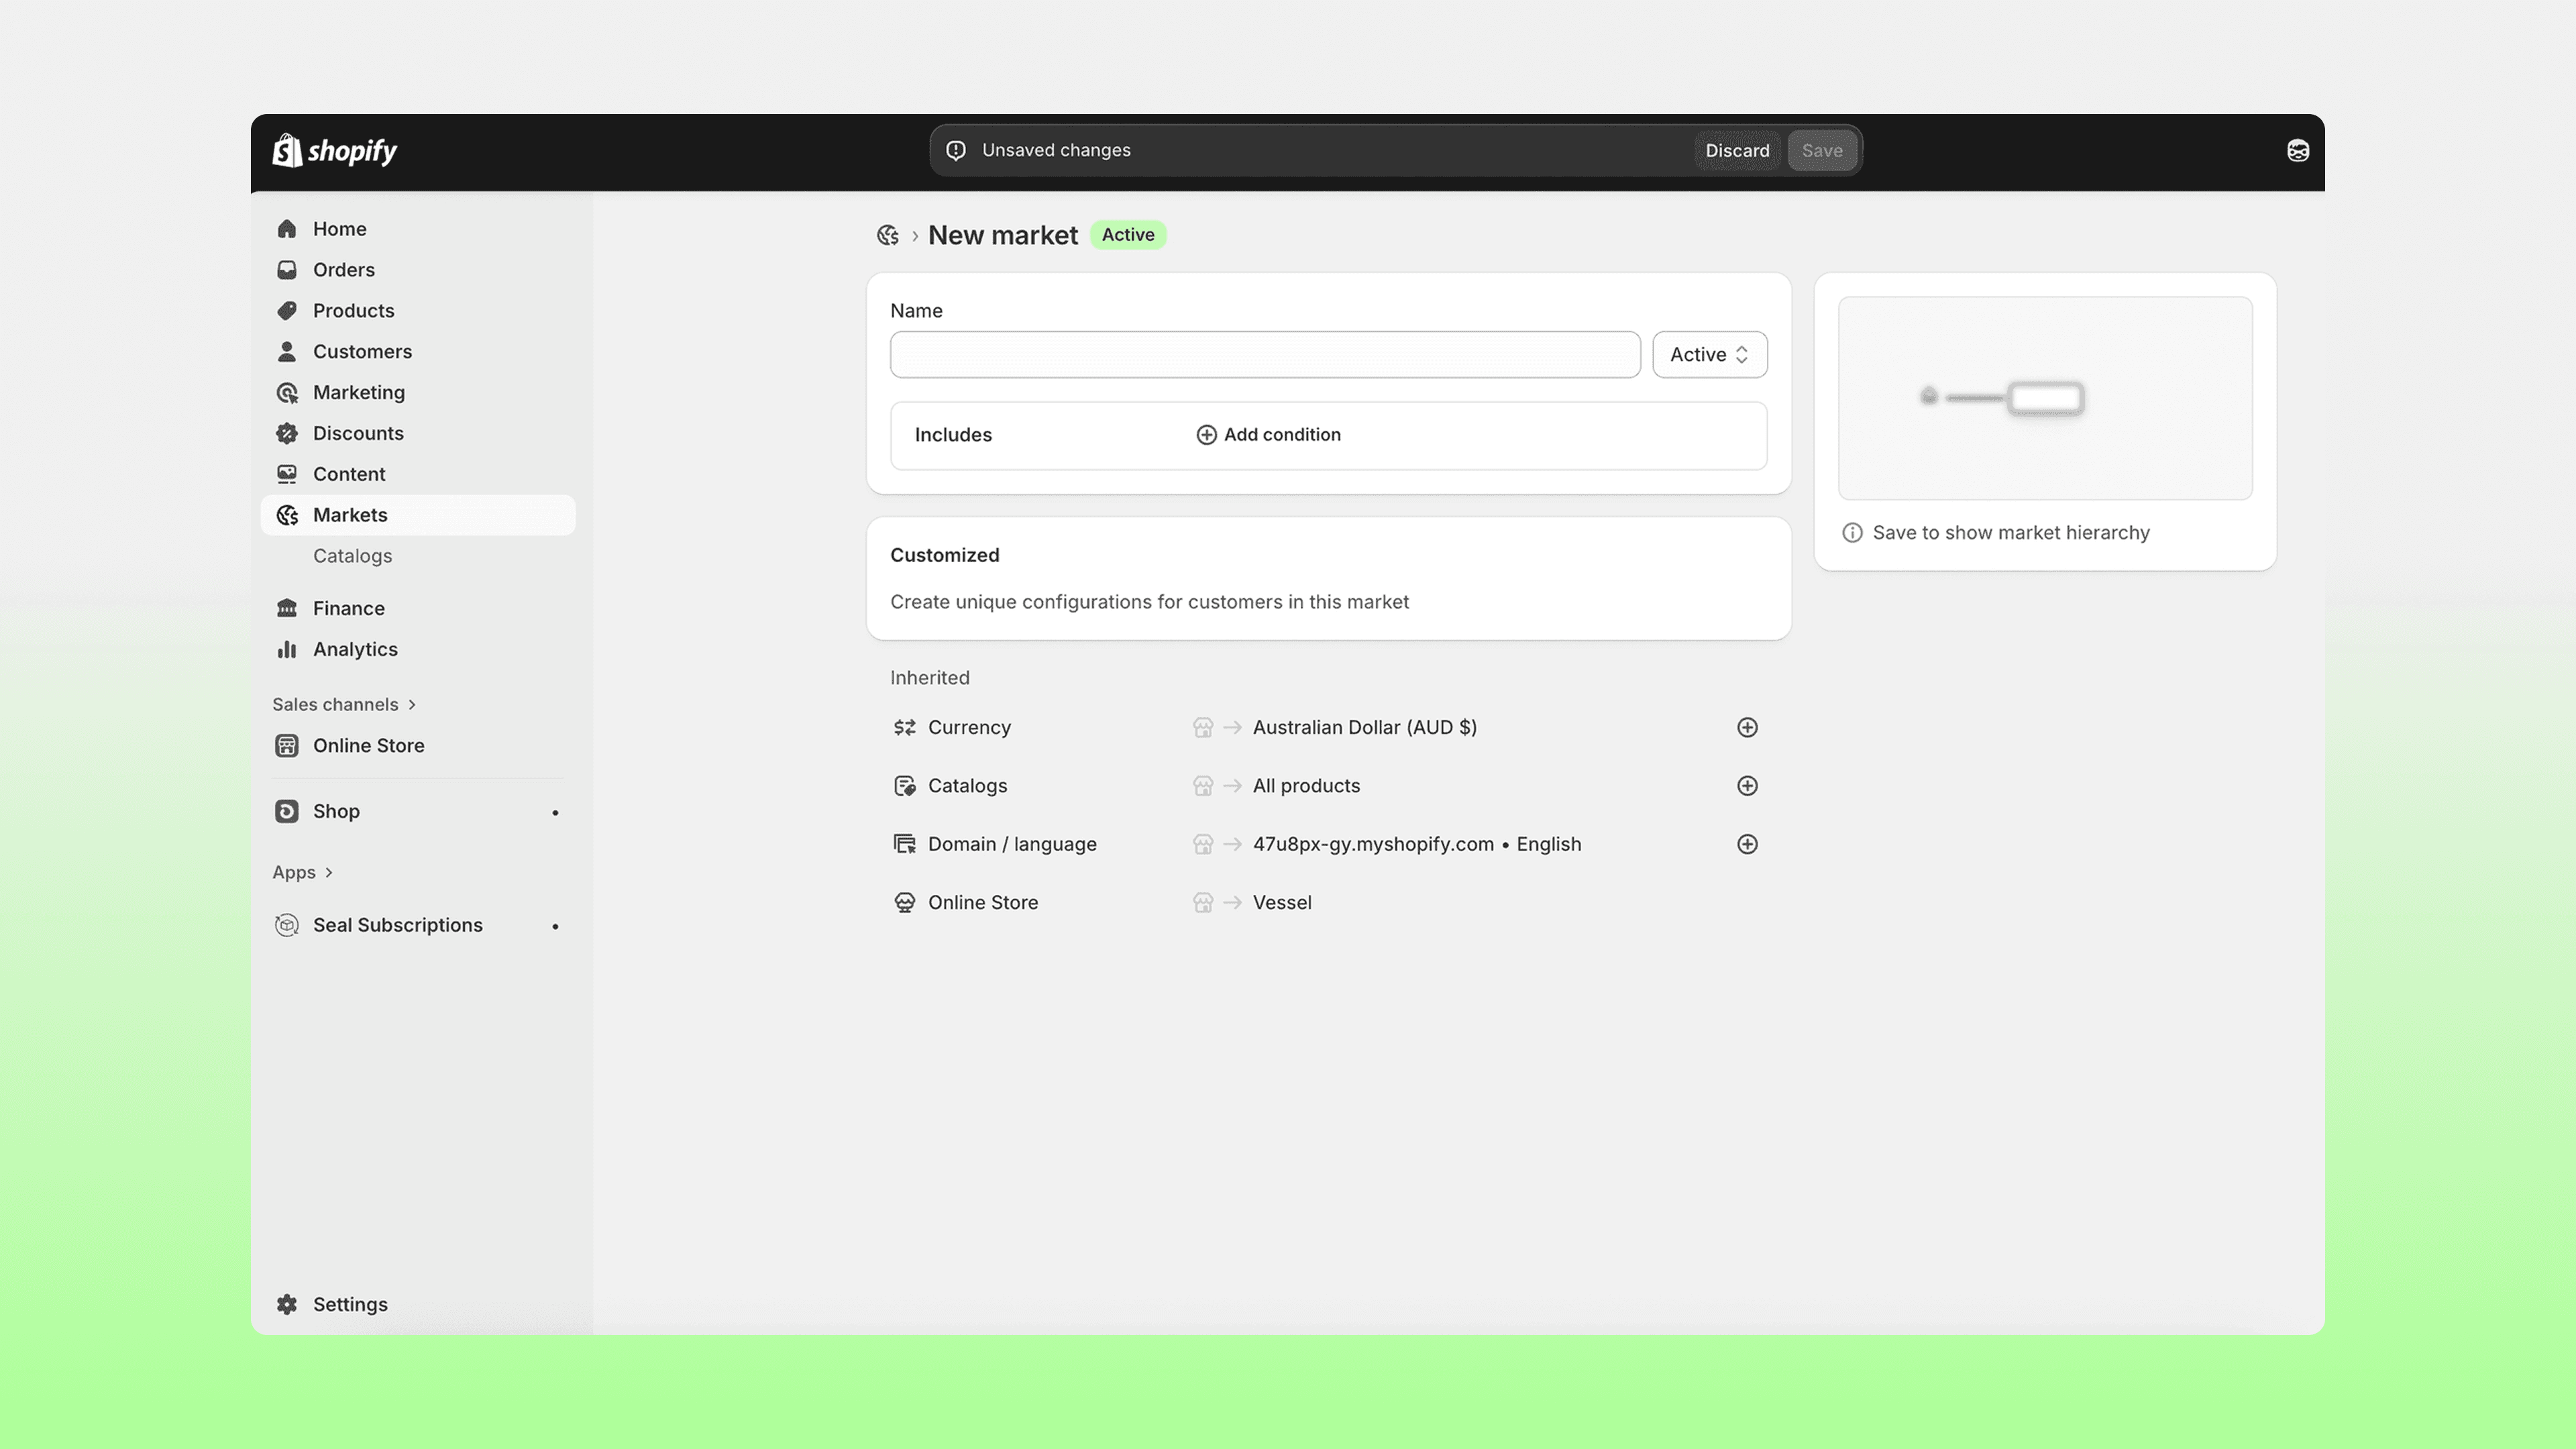
In Shopify
First, open your Shopify store and set up your intended Markets with the related currency.
Go into your Framer project and open the Frameship plugin
Navigate to the Catalog tab.
Drag the necessary components in to your project.
These will only work on preview or a published URL, not on the canvas.
Once styled to your liking, test out your product detail pages and change the market to see changes in price!
You have now successfully connected multi-currency in Framer!
Common Troubleshooting
Market components do not automatically track locale, this is a manual selection.
If your currently symbol is not pulling through into Framer, change or set the intended currency under "Markets" in Shopify, then sync again in Framer.
You cannot enable Catalogs in Shopify, only Markets. Your products will not sync if Catalogs are enabled.