setup
COMPONENTS
INTEGRATIONS
FAQ
Getting Started with Product Filters in Frameship
Frameship now has 23 components for building product discovery experiences. Filters for price, color, size, availability, product type, bundles, subscriptions, dates, and other Shopify or CMS data - plus search, sorting, filter presets, active filter chips, result counts, saved favorites, and Apply or Reset controls.
The filters understand real Shopify variant combinations. If a shopper picks a color and a size, they only see products where that exact combination exists. Product galleries and variant selectors update to show the matching variant. The In Stock filter checks current Shopify availability, not just previously synced data.
Before you start
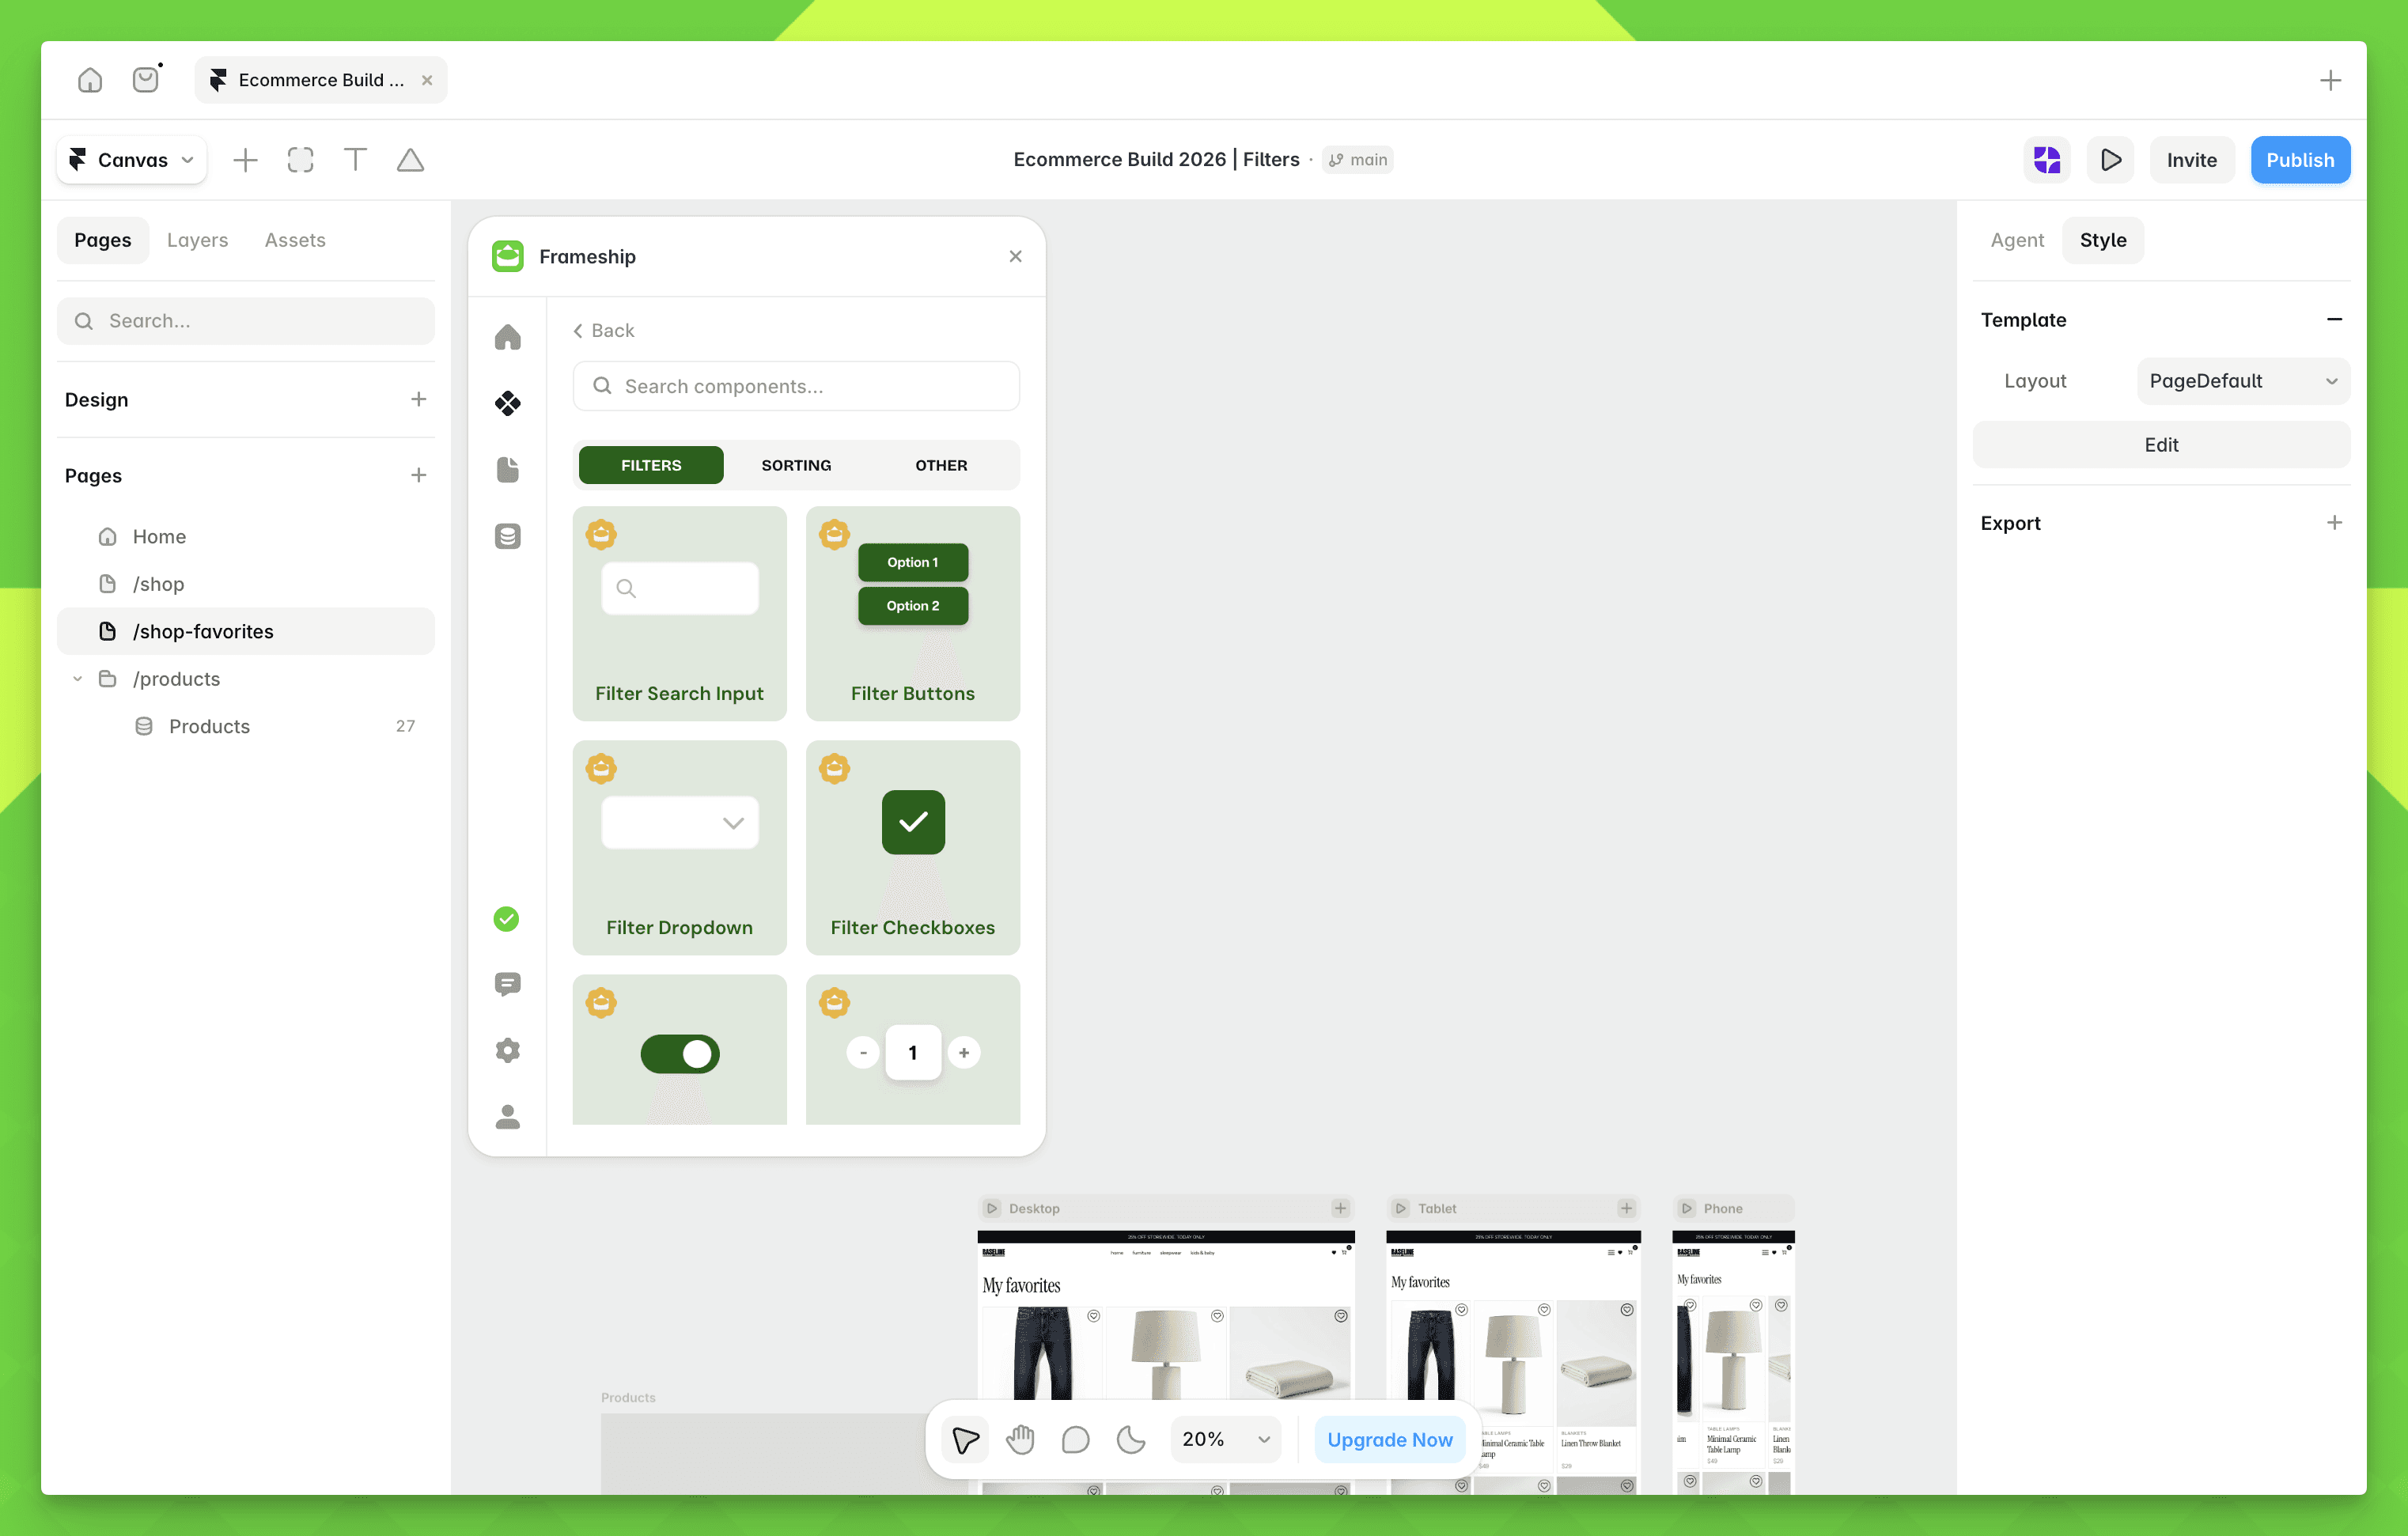
You'll need a Framer project connected to Shopify with Frameship (see Connecting Shopify to Framer) and your products synced to the CMS.
Step 1 - Add the Frameship Collection
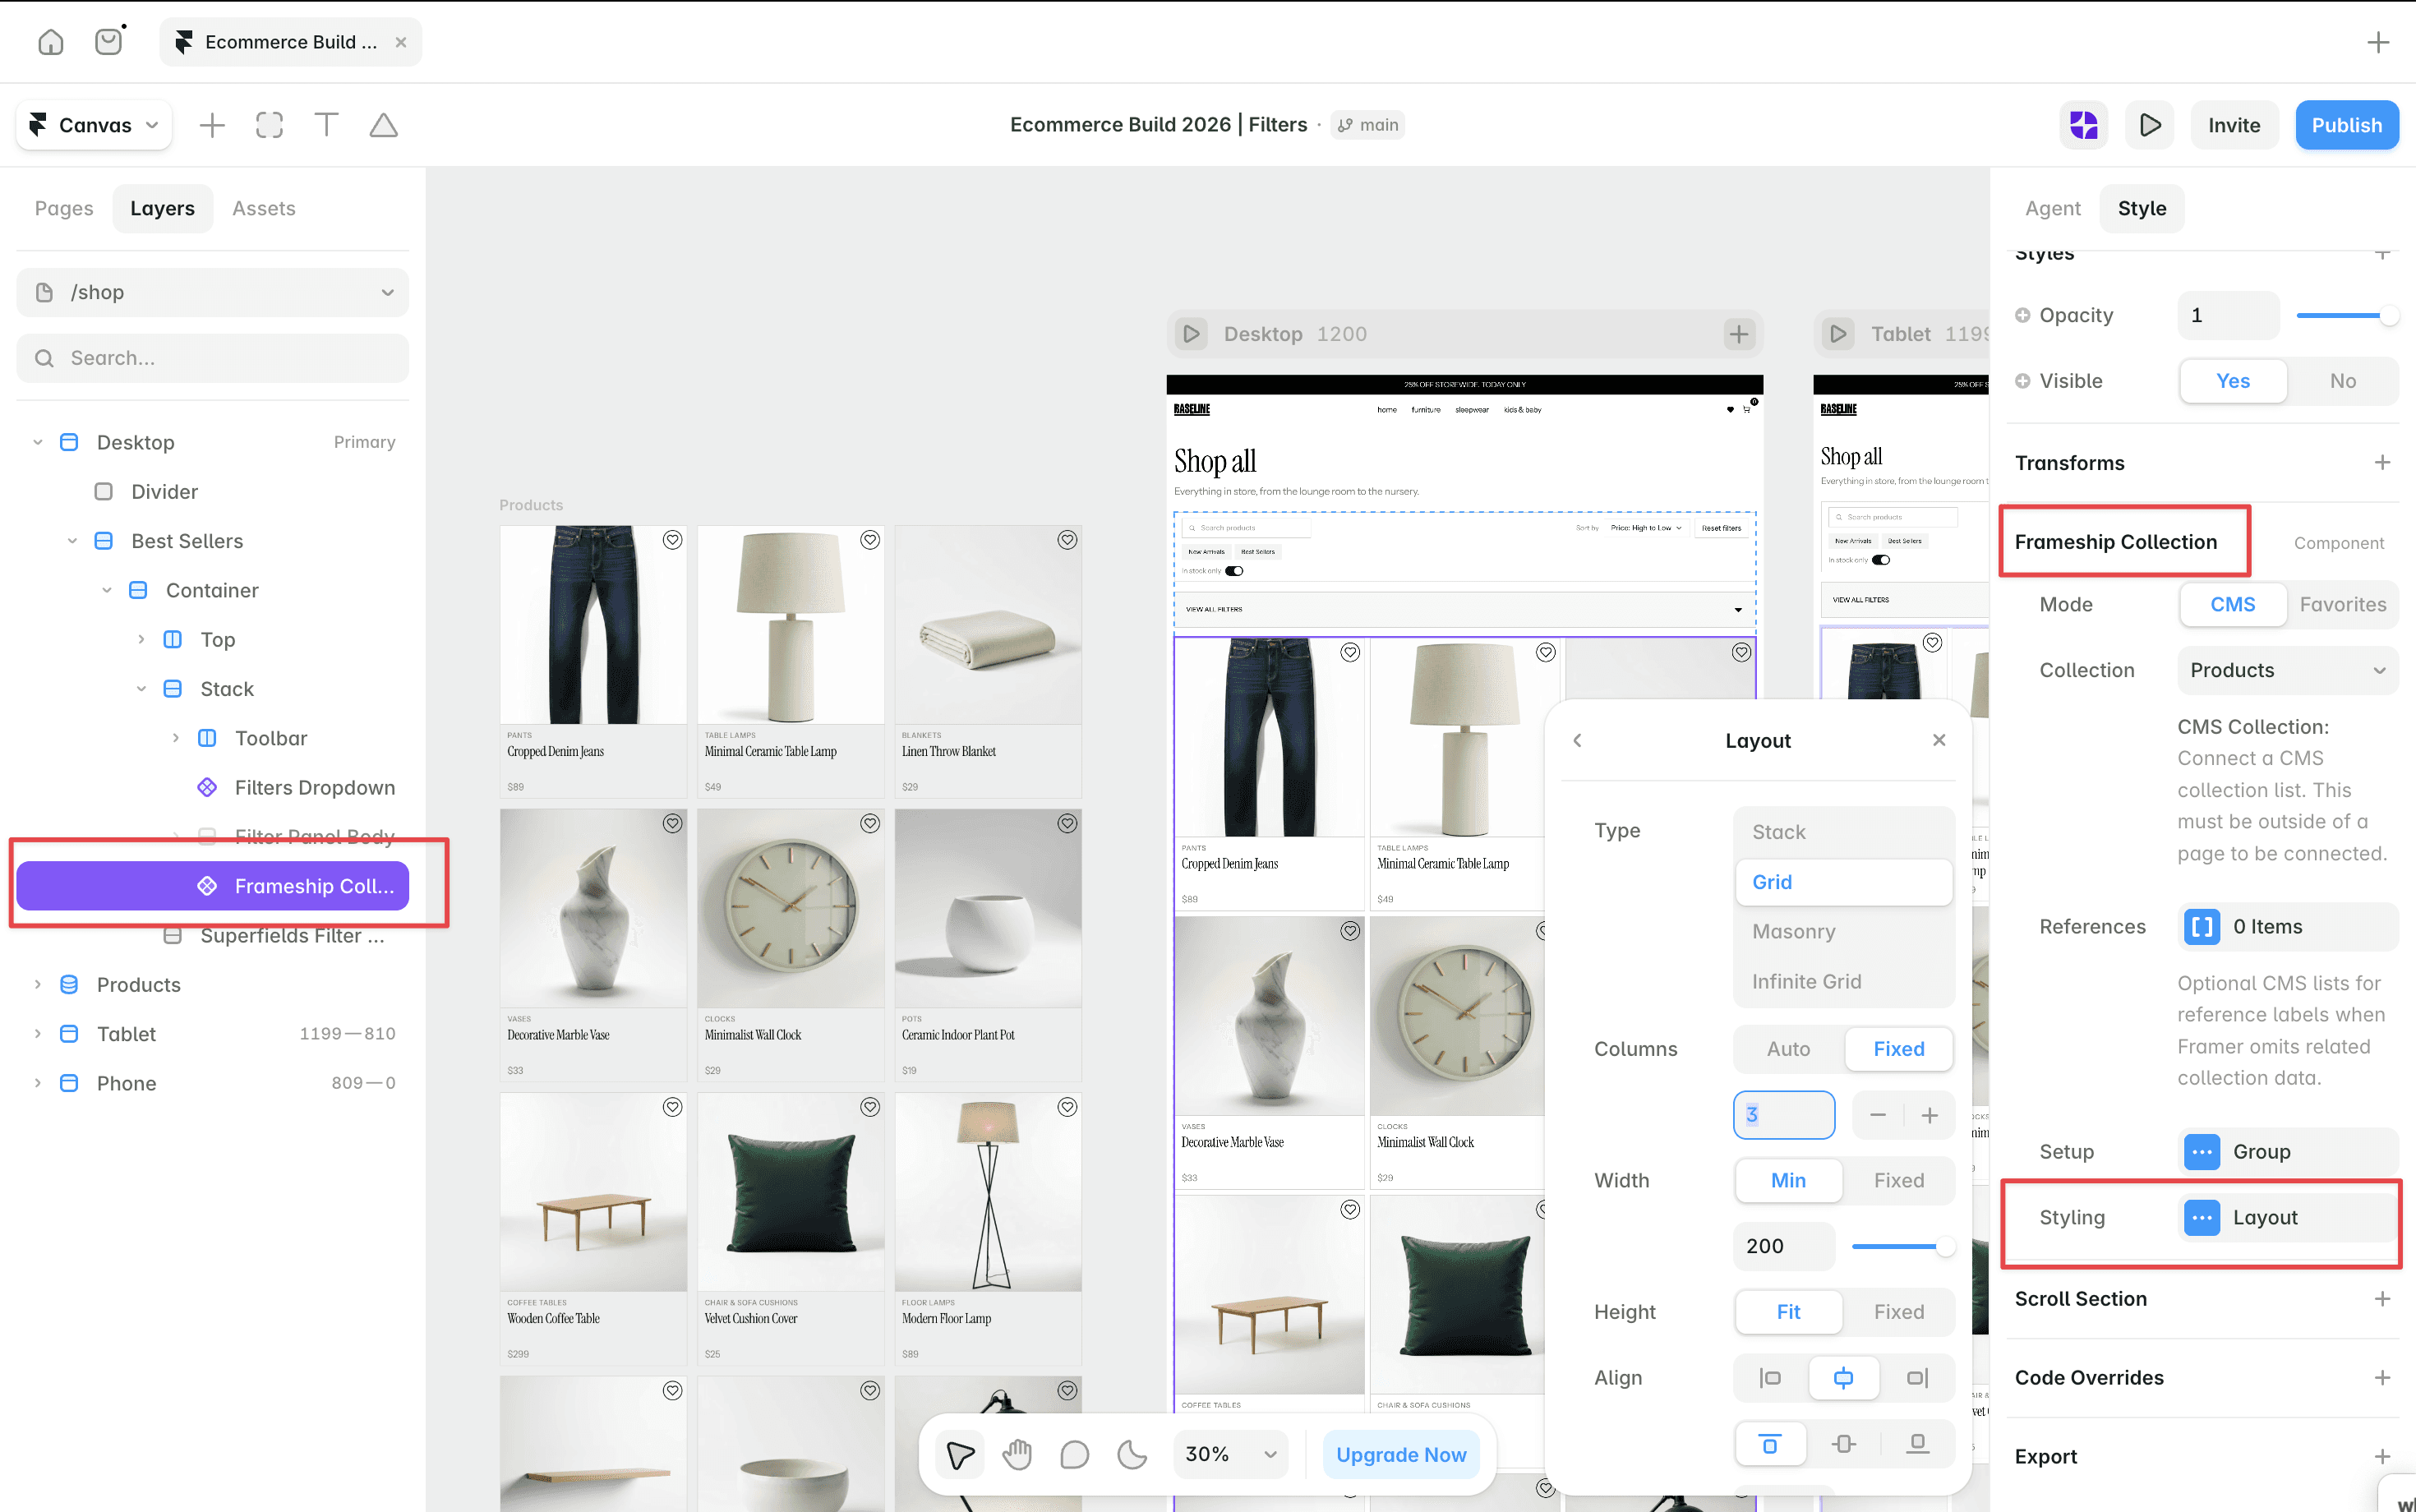
The Frameship Collection is the heart of the system. It connects your CMS list and displays the filtered and sorted results. Add it first.
Open the Frameship plugin and go to Components, then the Other tab.
Select Frameship Collection and click Insert Component to add it to your page.
Connect your CMS Collection List.
Keep the source list off-canvas - Frameship renders its results in the component.
Choose a layout type: Stack, Grid, Masonry, or Infinite Grid. Configure the layout controls shown for that type. Infinite Grid repeats visible items; it does not load more CMS items.
Step 2 - Add your filters and sorting
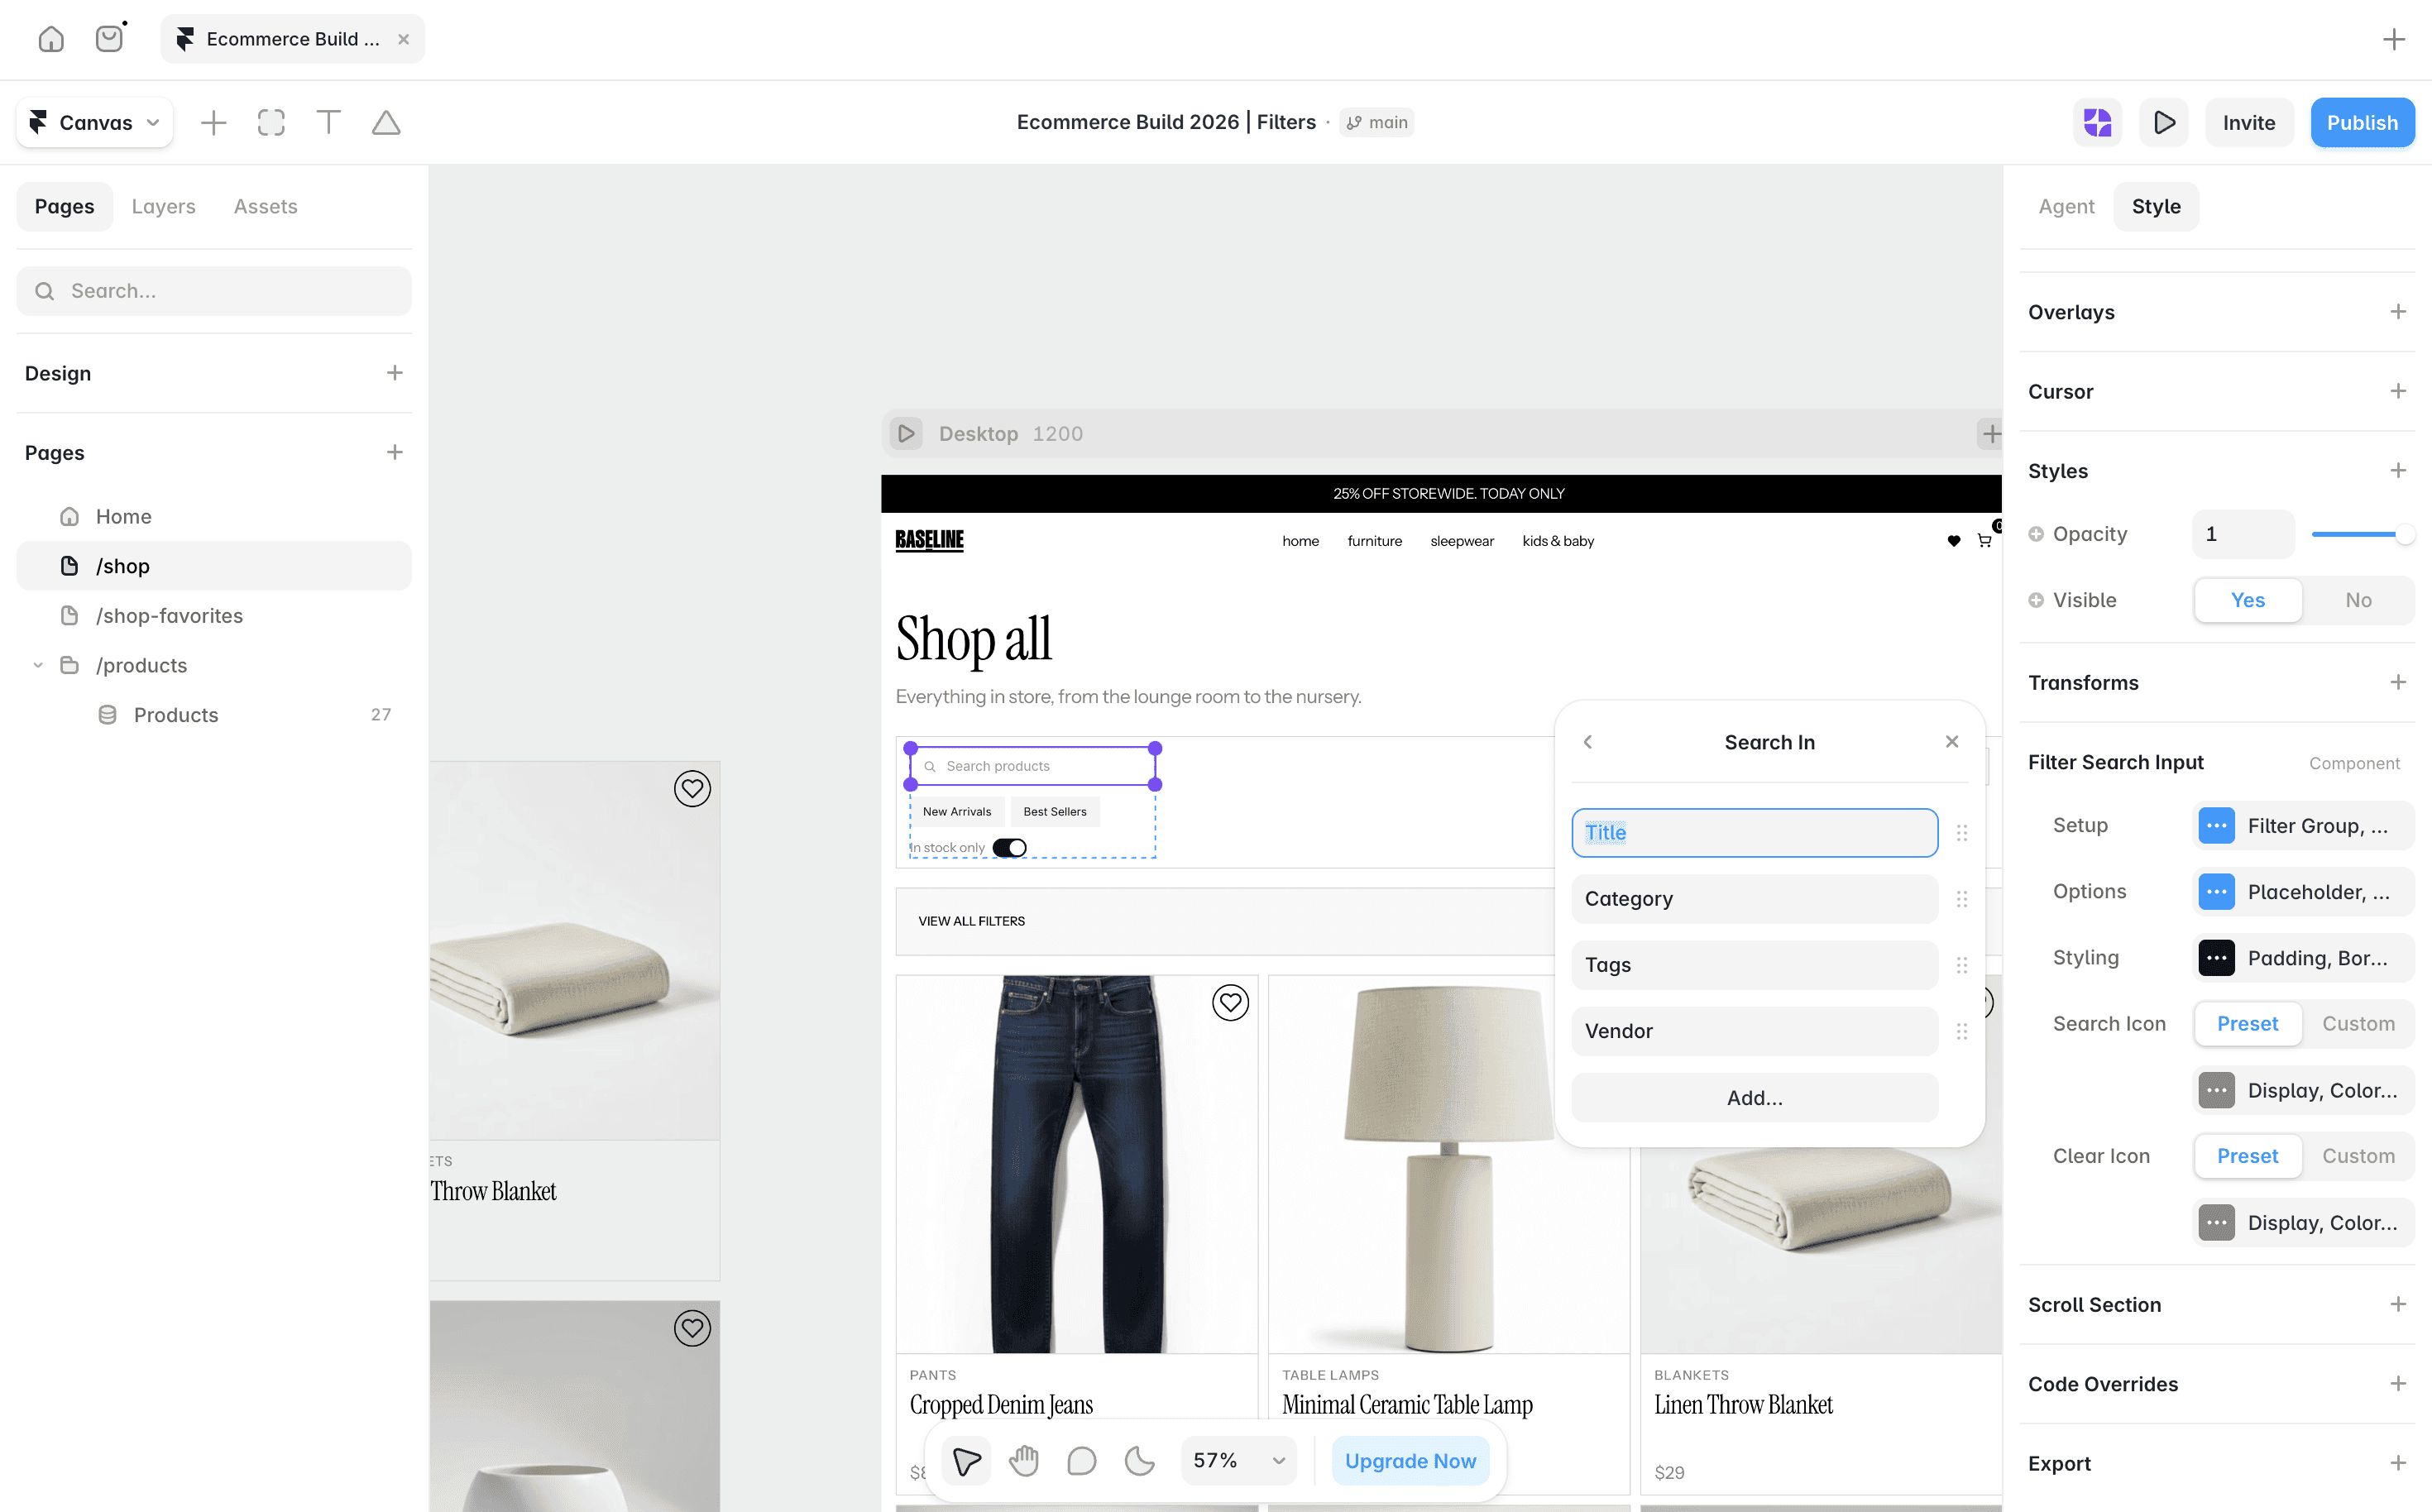
Drag in the controls you want from the Filters and Sorting tabs - search inputs, buttons, checkboxes, dropdowns, toggles, sliders, date pickers, preset filters, and more. See Filtering, Sorting & Search for what each component does.
Give related filters, sorting, buttons, chips and counters the same ID Filter Group as your collection so they all act on the same results.
Step 3 - Add the extras
From the Other tab:
Result Counter shows how many products match the active filters.
Favorite Button lets shoppers save products. Show saved items by setting a Frameship Collection to Favorites mode - connect the same CMS collection and add an Empty State.
Step 4 - Preview and publish
Preview your page to see filtering in action. Add, restyle or rearrange components any time - every component behaves like any other Framer component.
Migrating from the old filters
Already using Frameship's legacy filter components? Frameship detects them and shows a notice on the plugin homepage, then helps you locate and replace each one. See Migrating to the New Filters.


