setup
COMPONENTS
INTEGRATIONS
FAQ
Filter Preset Dropdown - Superfields for Framer
Filter Preset Dropdown is the dropdown version of preset filtering - each option applies a saved bundle of filter conditions in one choice. It's ideal when you have several presets and want to save space.
Before you start: every input works together with the Superfields Collection - the main component that connects your CMS and renders the results. Add and connect that first (see Getting Started with Superfields), then give this input the same ID Filter Group as your collection.
Where to use it
Airbnb-style rentals: a "Quick filters" menu with saved searches like "Pet friendly under $100".
Online store: a compact shortcuts menu when you have more presets than fit as buttons.
Directory: saved views such as "Top rated" or "Recently added".
Best when you have several presets and want to save space.
Add Filter Preset Dropdown
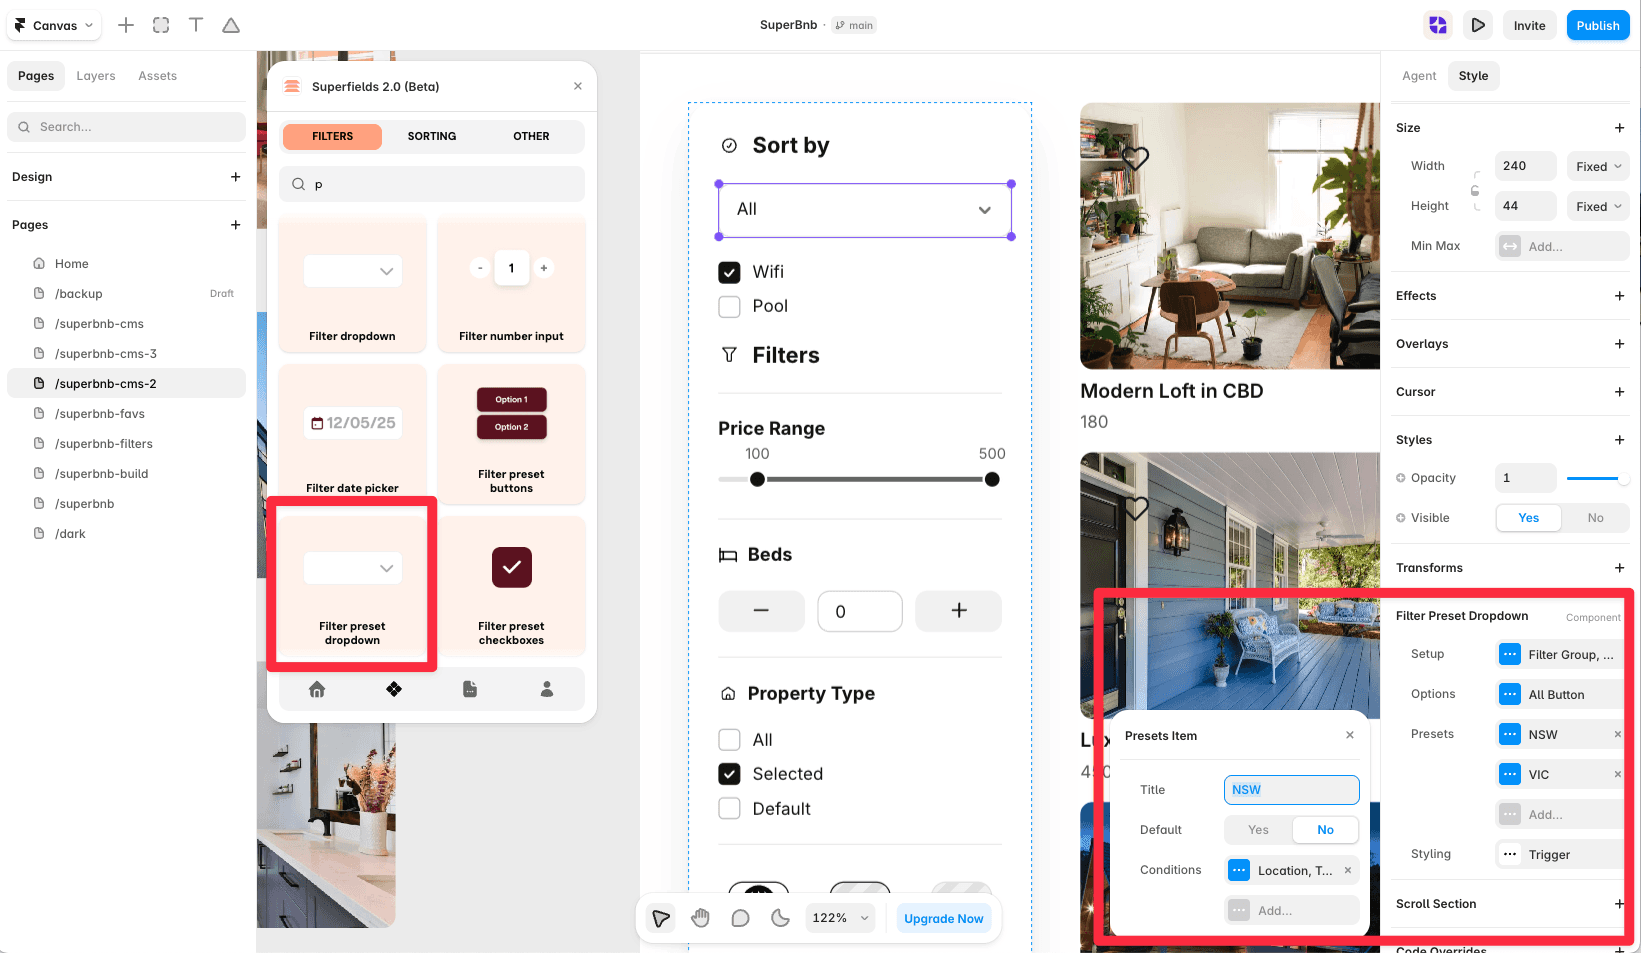
Open the Superfields plugin and go to Components, then the Filters tab.
Drag Filter Preset Dropdown onto your page, inside your filters layout.
Open the component's Setup from the
...menu.
Setup, Options and Presets
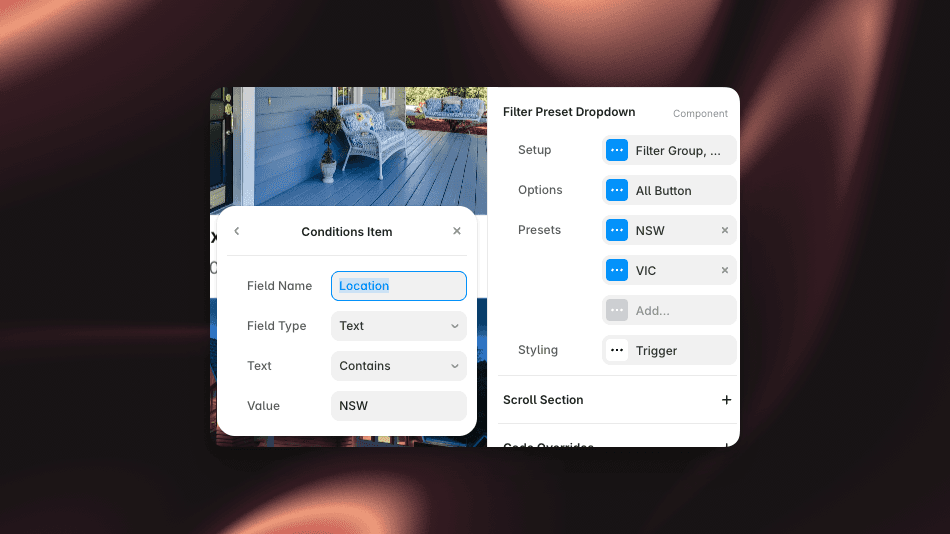
These are identical to Filter Preset Buttons: an ID Filter Group, an ID Preset Group, Apply Filters and an optional Filter ID; an All Option; and a Presets list where each preset has a Title, a Default toggle and a set of Conditions (Field Name + Field Type + value). See the Filter Preset Buttons page for the full breakdown of conditions.
Styling
Style the dropdown Trigger (Fill, Border, Radius, Padding, Text and Chevron).
And that's it - presets in a tidy dropdown.


