setup
COMPONENTS
INTEGRATIONS
FAQ
Getting Started with Superfields for Framer
Superfields turns your Framer CMS into a powerful search experience - stackable filters, instant sorting, favourites and more. This guide gets you from an empty page to a working, filterable collection. The quickest path is to let the Framer Agent set everything up for you, so we'll start there.
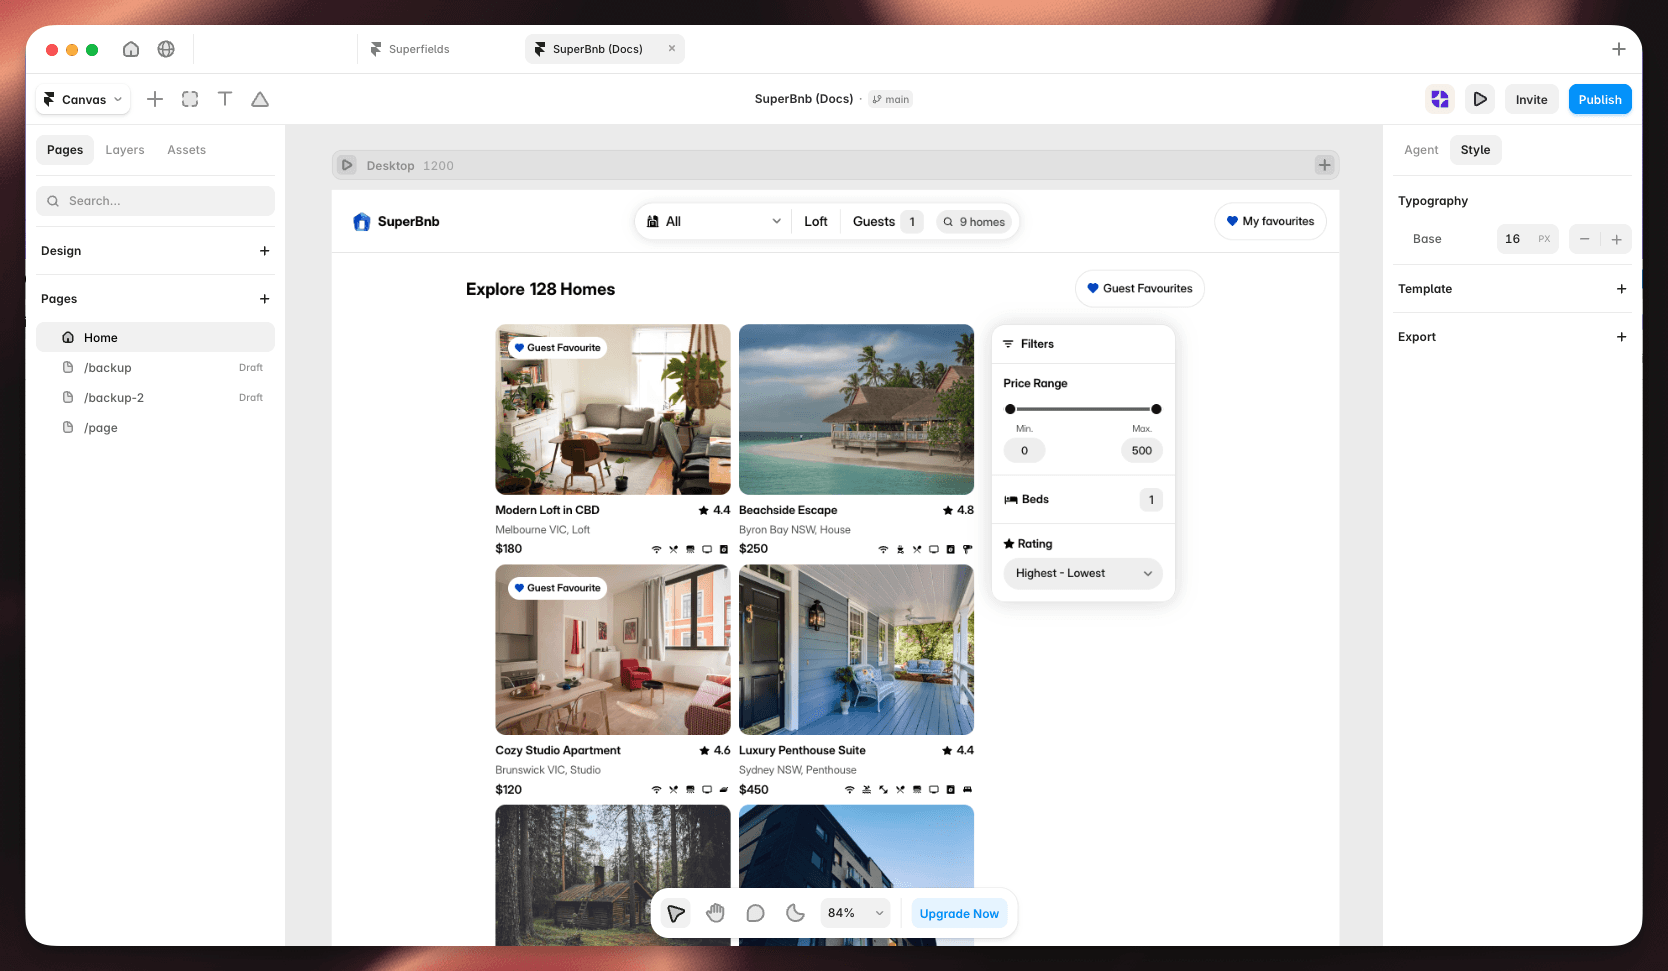
Everything in Superfields hangs off one Superfields Collection connected to your CMS. Filters, sorting, and status components all attach to that collection and share a filter group, so they work together automatically.
The fastest way: Framer Agent setup (recommended)
The agent setup does around 80% of the work for you. It asks a few questions in the plugin, prebuilds the layout on your canvas, then hands off to Framer's AI agent to wire up your CMS and verify everything. We recommend this for almost everyone.
Open the Superfields plugin
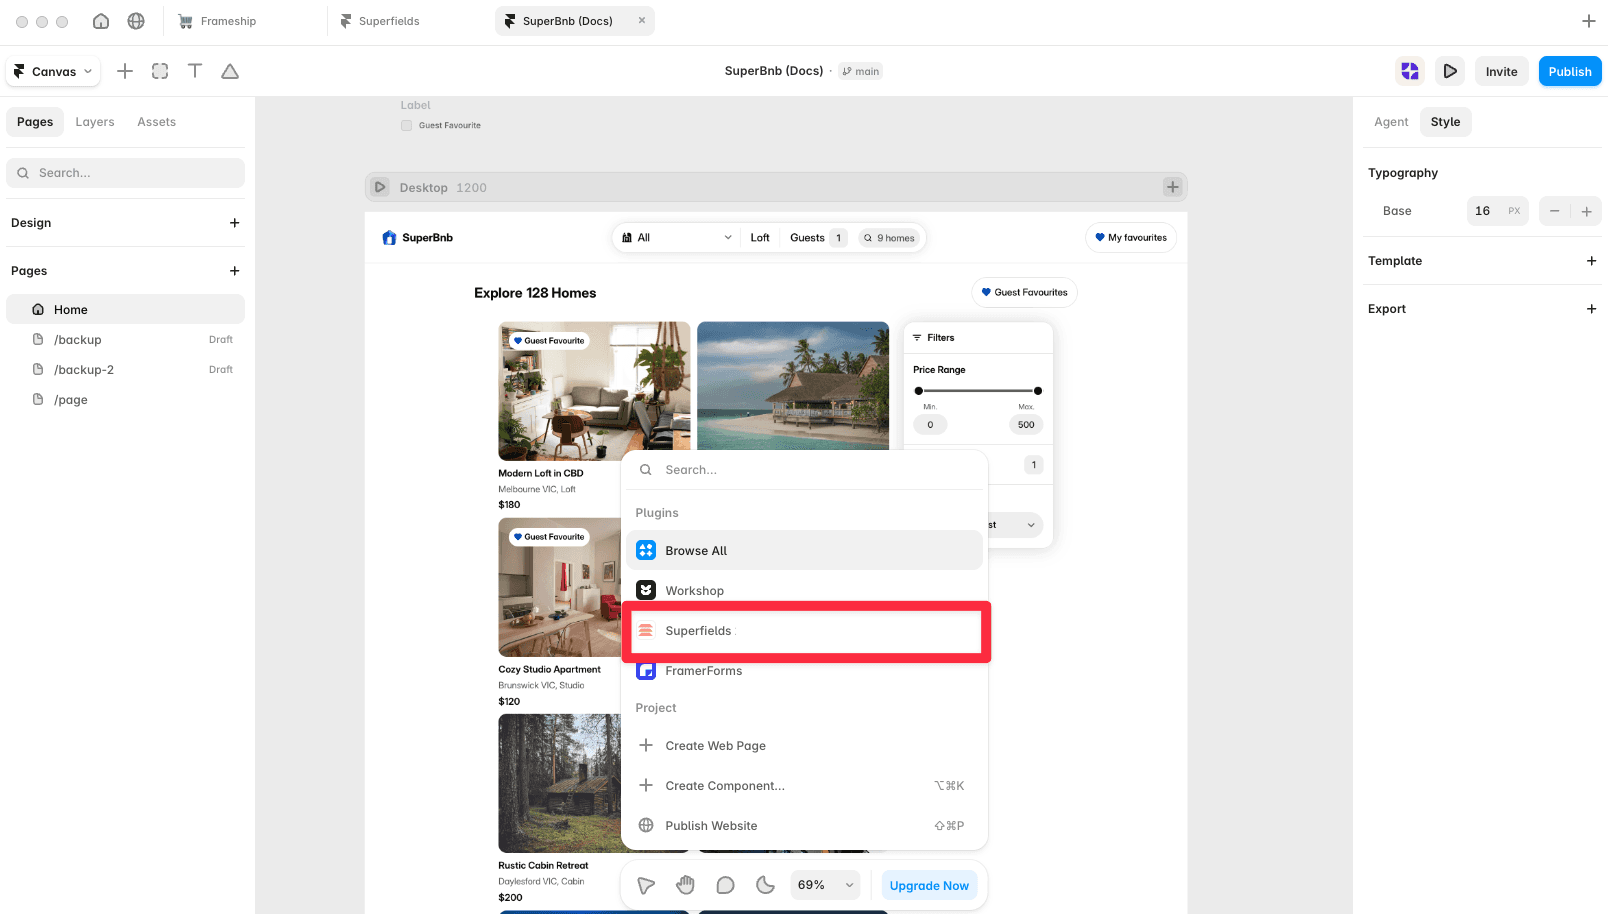
In Framer, go to Plugins and open Superfields. On the home screen, choose Framer Agent Setup.
Choose your page
Pick the page you want to add filtering to, or let Superfields create a new blank page for you.
Choose your CMS collection
Select the collection you want to make filterable. Superfields shows how many filterable fields each collection has.
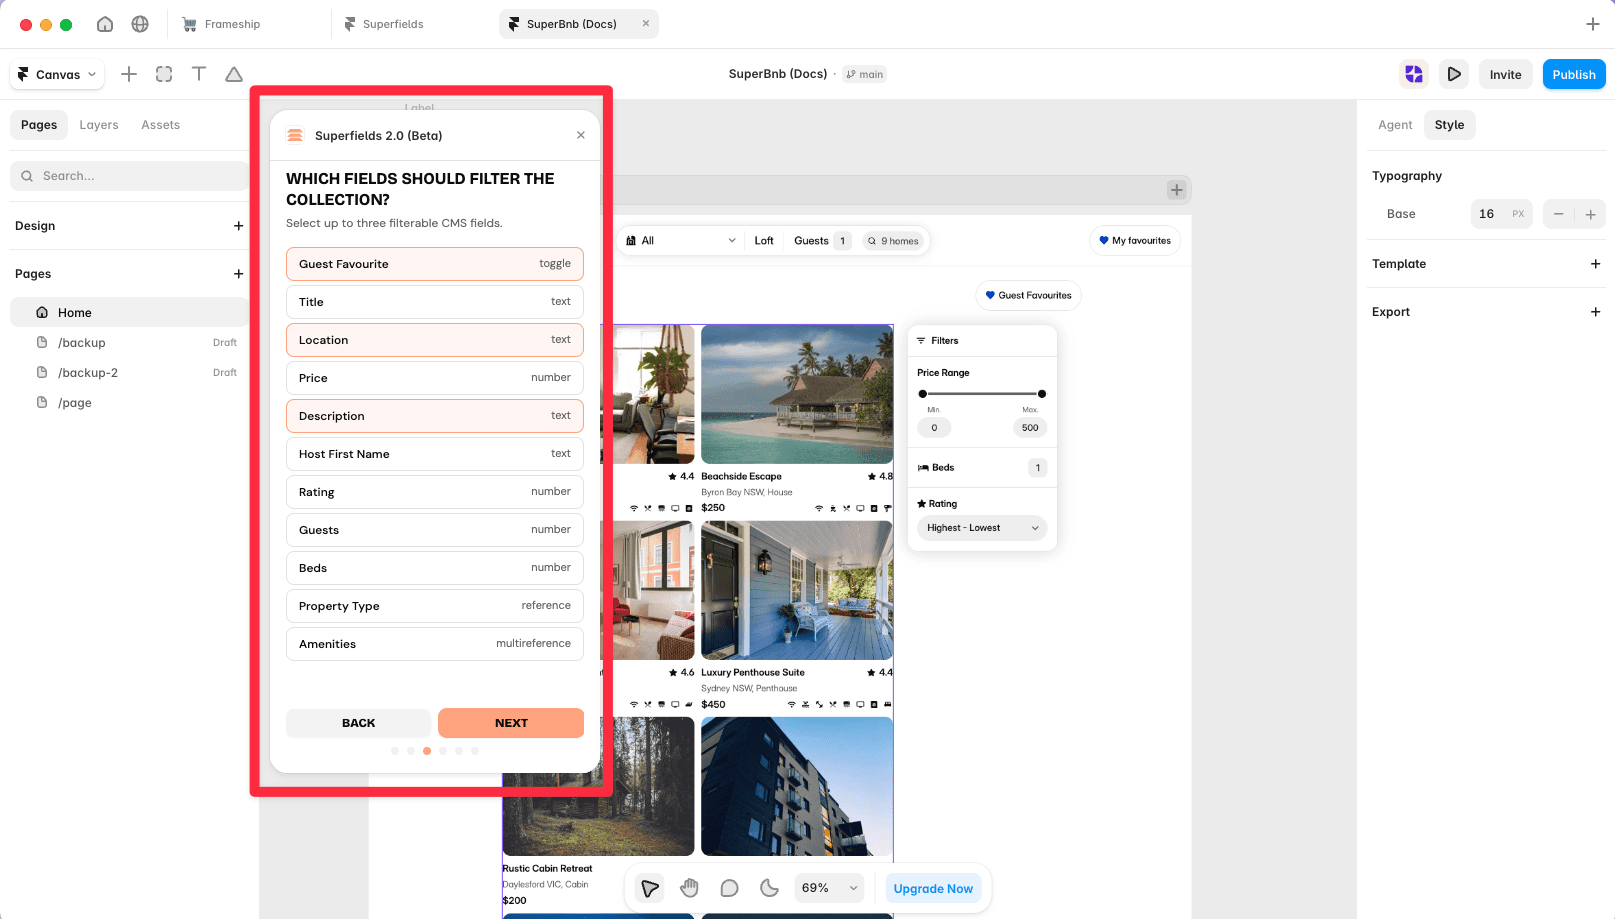
Choose which fields to filter by
Select up to three CMS fields to filter on. Each field shows its type (text, option, date, and so on) so you know what you're working with.
Choose how each filter looks
Pick a display for each field. Superfields only offers displays that fit the field type - for example, a date field offers the Filter Date Picker.
Prepare your canvas
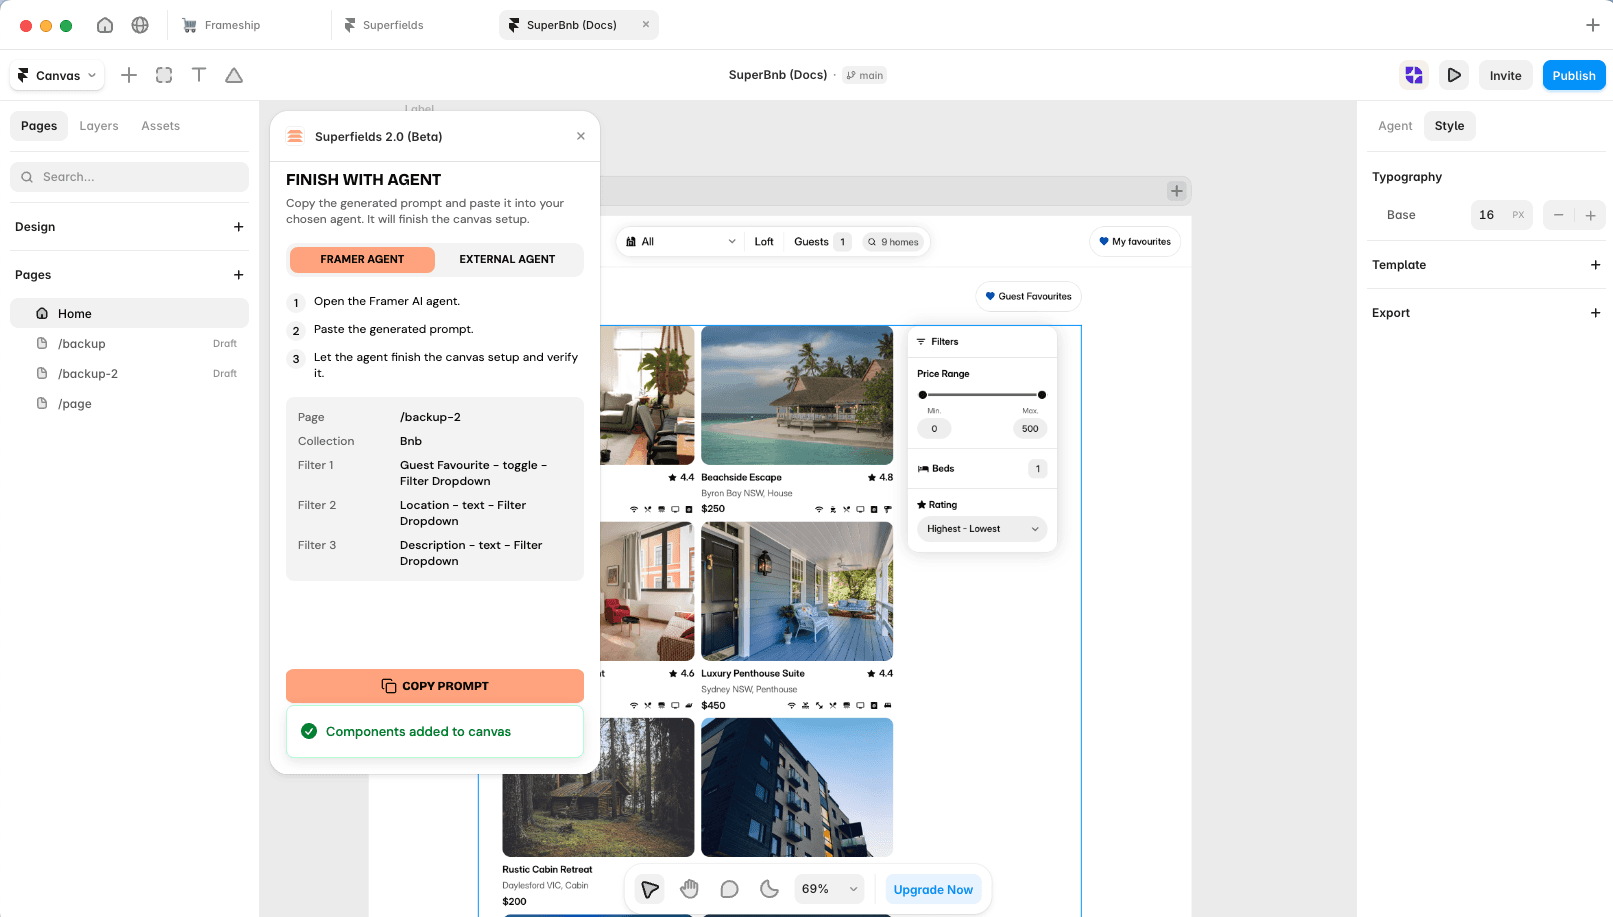
Click Prepare Components. Superfields builds the layout for you: your filters, a reset button, active filter chips and a result counter on the left, and your Superfields Collection on the right.
Finish with the agent
Copy the generated prompt and paste it into Framer's AI agent (or an external agent). The agent wires up your off-canvas CMS list and verifies the setup. That's it - your collection is live and filterable.
Tip: The agent setup configures each filter's settings for you before the agent runs, so there's very little left to do by hand. If you want to add more filters later, just drag them in from the plugin.
Prefer to set it up manually?
You can build everything by hand for full control. There are four steps.
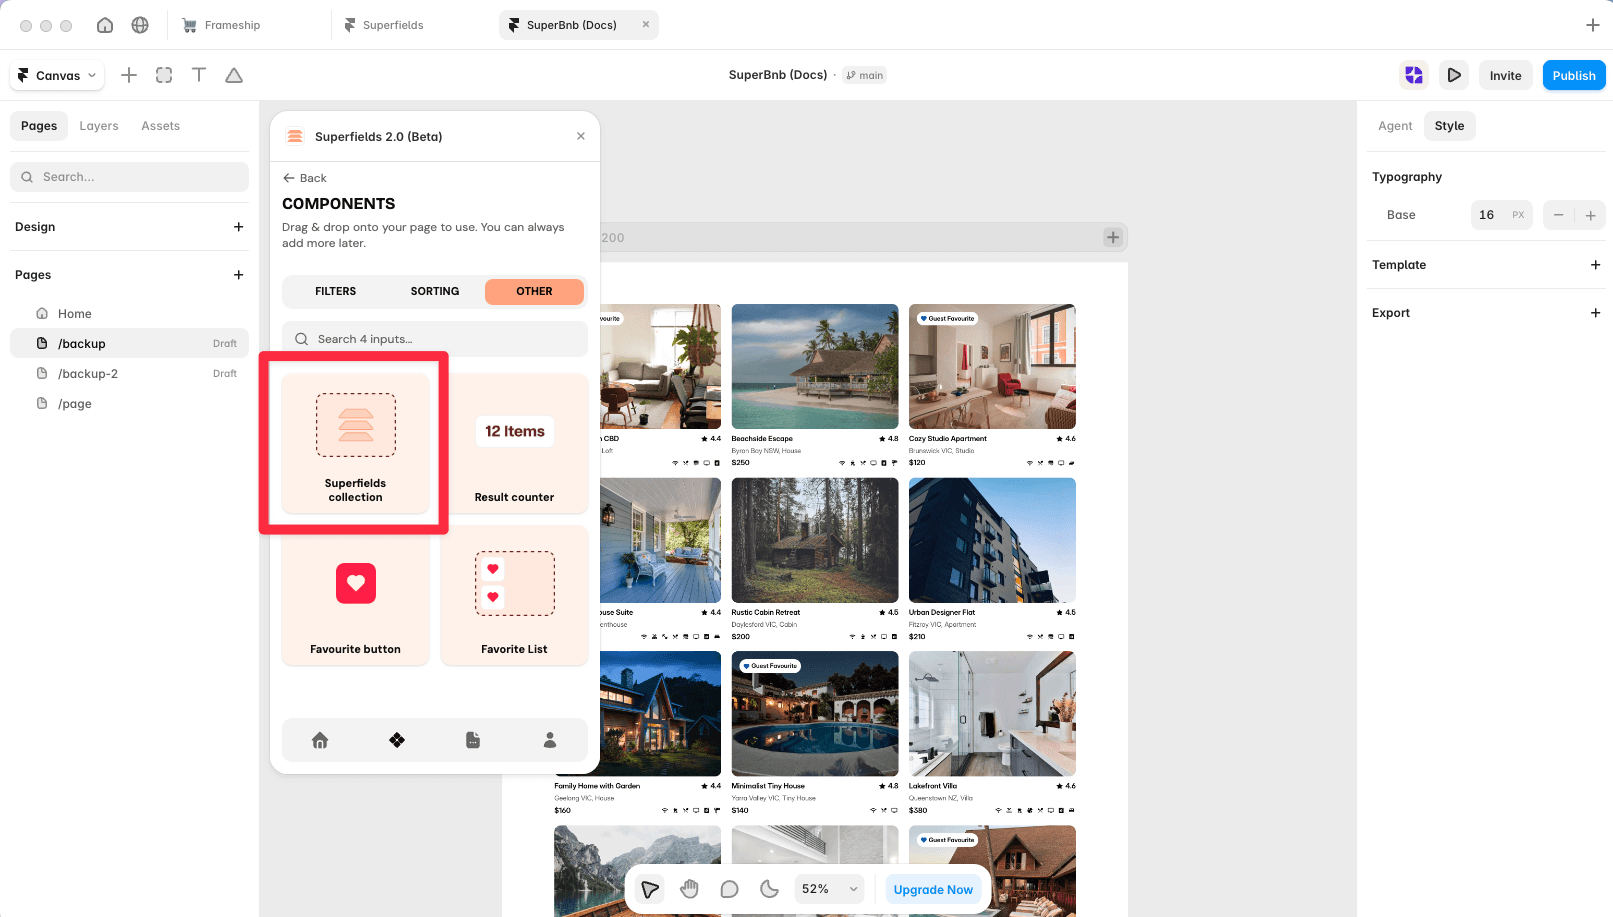
Add the Superfields Collection to your canvas
Open the plugin, choose Setup Guide, and add the Superfields main component to your page. Your CMS collection list needs to sit off the canvas (as a direct child of the page, positioned off-screen) so it can be connected.
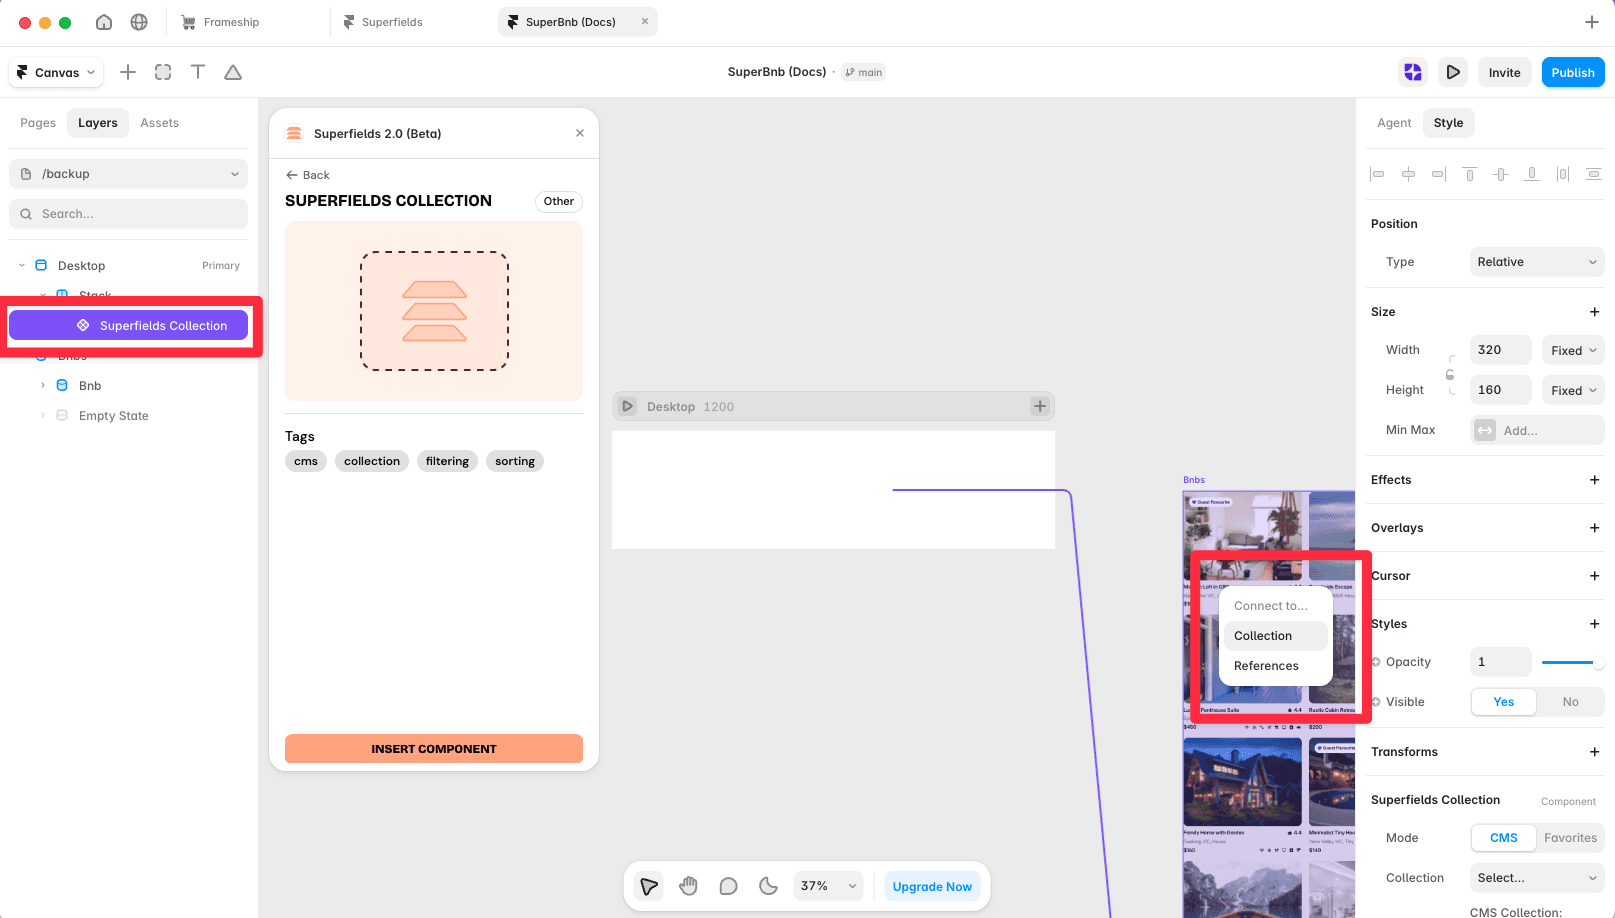
Connect your collection
Connect the Superfields Collection to your off-canvas CMS list.
Add your inputs
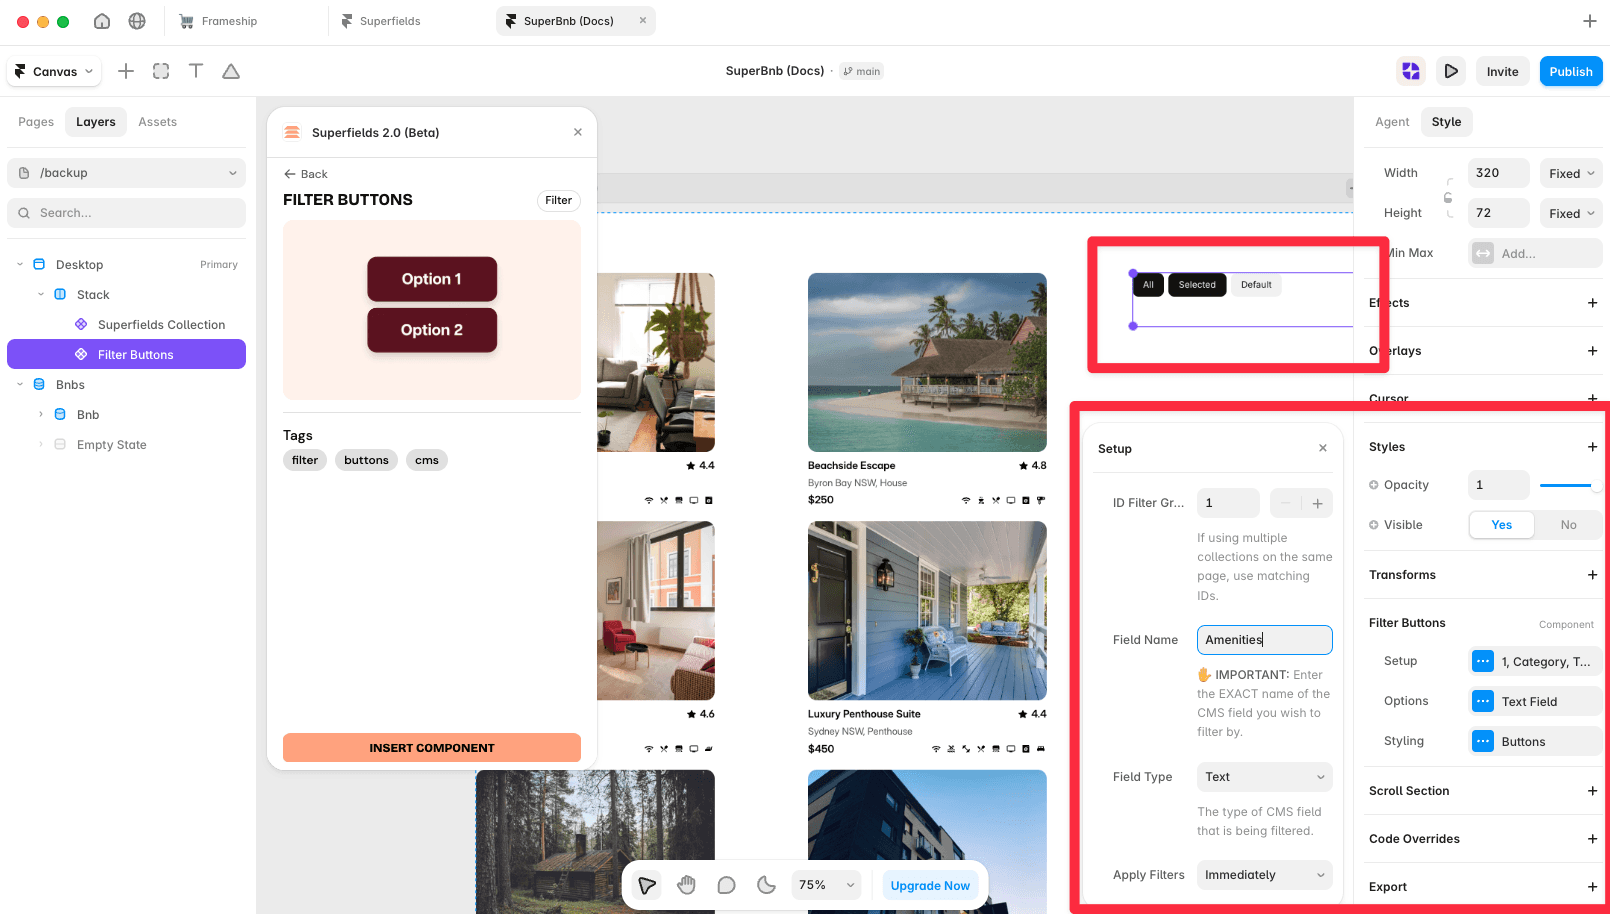
Drag and drop the filters, sorting and other components you want from the Filters, Sorting and Other tabs. Give every control the same ID Filter Group as your collection so they act on the same results.
You're all set
Preview your page to see filtering in action. Add, restyle or rearrange components any time.
Styling and customization
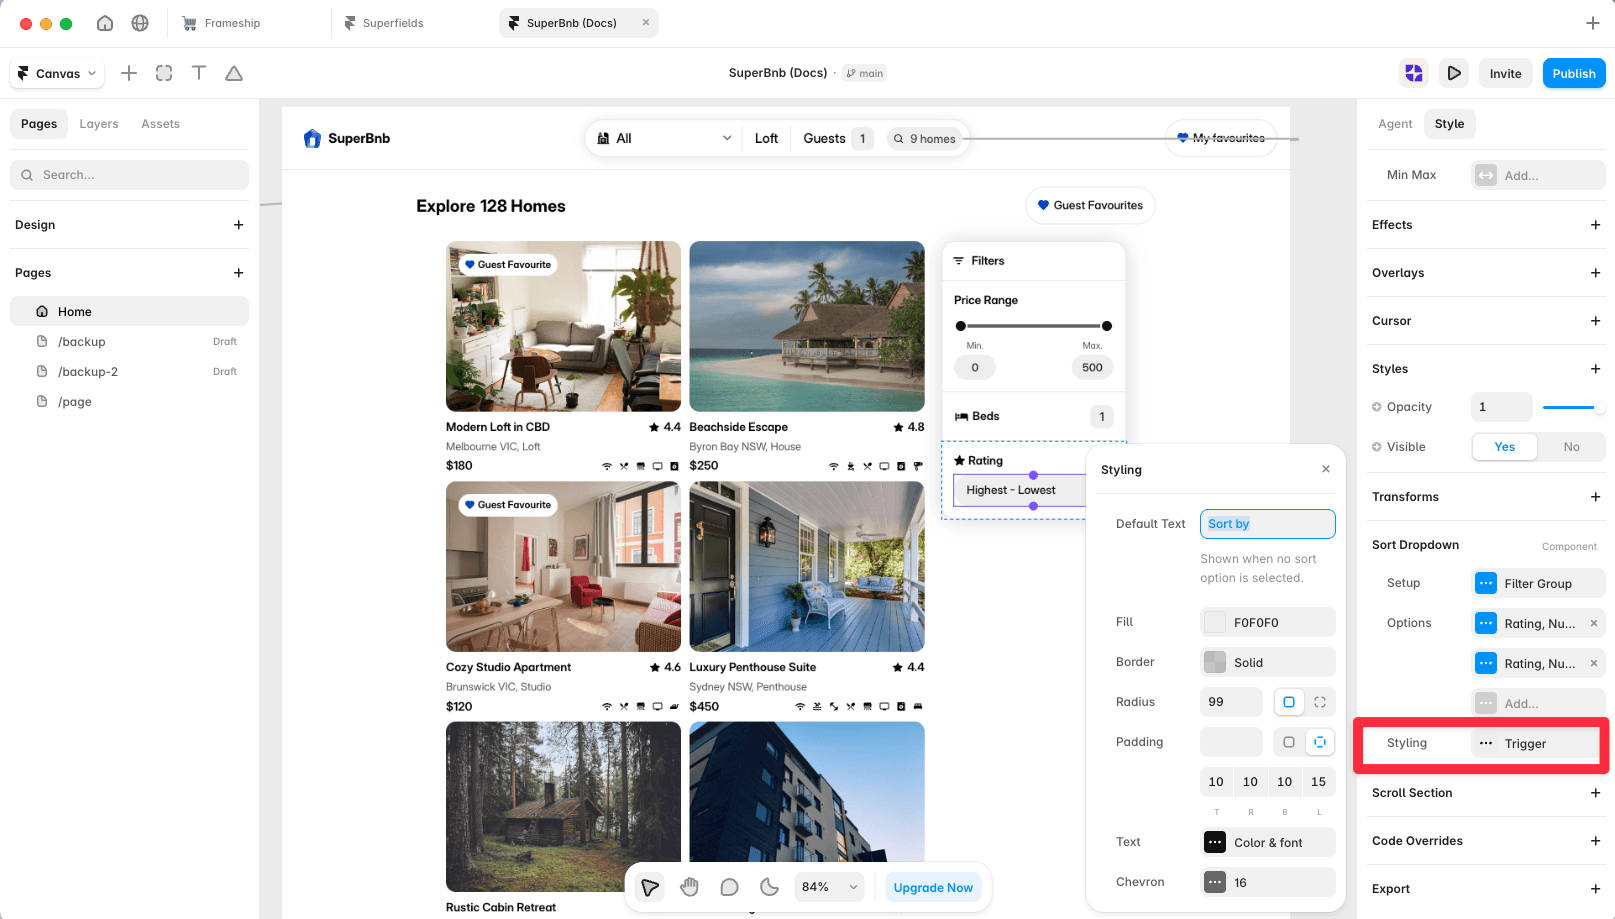
Every Superfields component is fully customizable. Each filter has a Setup, Options and Styling panel (opened from the ... menu), so you can control exactly what it targets and how it looks. Style everything to match your brand - it behaves like any other Framer component.
Superfields requires an activated license per Framer project to keep running on a published site. Without one, your published collection shows a "Superfields license required" notice. Purchase and activate a license to remove it - open the plugin, go to Licenses, and activate Superfields on your project.
And that's it. You've connected a fully functional, filterable CMS collection to your Framer site with Superfields.
RELATED DOCUMENTATION
Filter Buttons
Filter Dropdown
Filter Checkboxes
Filter Toggle
Filter Number Input
Filter Number Slider
Filter Date Picker
Filter Image Buttons
Filter Preset Buttons
Filter Preset Dropdown
Filter Preset Checkboxes
Filter Map
Filter Reset Button
Filter Apply Button
Active Filter Chips
Filter Counter
Sort Dropdown
Sort Buttons
Sort Checkboxes
Result Counter
Favourite Button
Favorite List
Multi-Reference Filtering
Migration Guide
Adding Coordinates to Your Framer CMS


